Tech Art Chronicles: Retro PS1 Wobble + More
From Technically Speaking Discord Challenge
![]()

In the Technically Speaking Discord we had ourselves a fun weekly challenge to do retro effects like VCR, screen overlays, wobble vertex offsets, etc. I figured I’d pick vertex offsets as I dabbled in it a bit before and thought it’d be fun to do.
ASSETS I’M USING:
The Knoble Craftsmen BY olmopotums
Basalt Columns BY Josh McAvoy
Of course I overthought the challenge and was too ambitious with what I wanted to do. I was imagining I could animate a blacksmith hitting metal and on each hit the pixel/wobble offset would appear. I didn’t get time to do that but you could see it influence my choice of models.
SETTING UP THE VERTEX WOBBLE:
The vertex wobble is pretty simple especially if you follow this youtube tutorial.
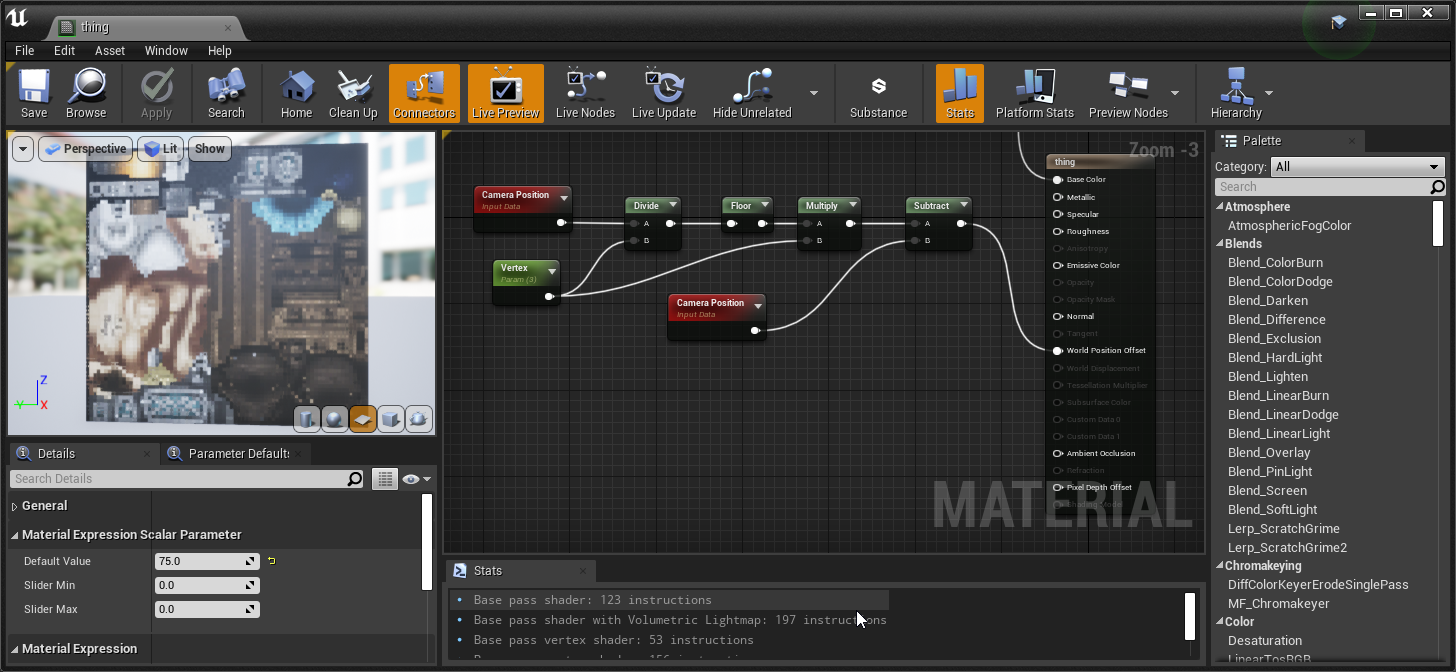
So when you move the camera you determine to what vertex degree with the model snap to the grid.

WOBBLE WOBBLE WOBBLE
Now you can set instead of camera position to absolute world position too and see some interesting things that look like some serious bugs. Or just put the wobble on the sparks and get a really easy effect.

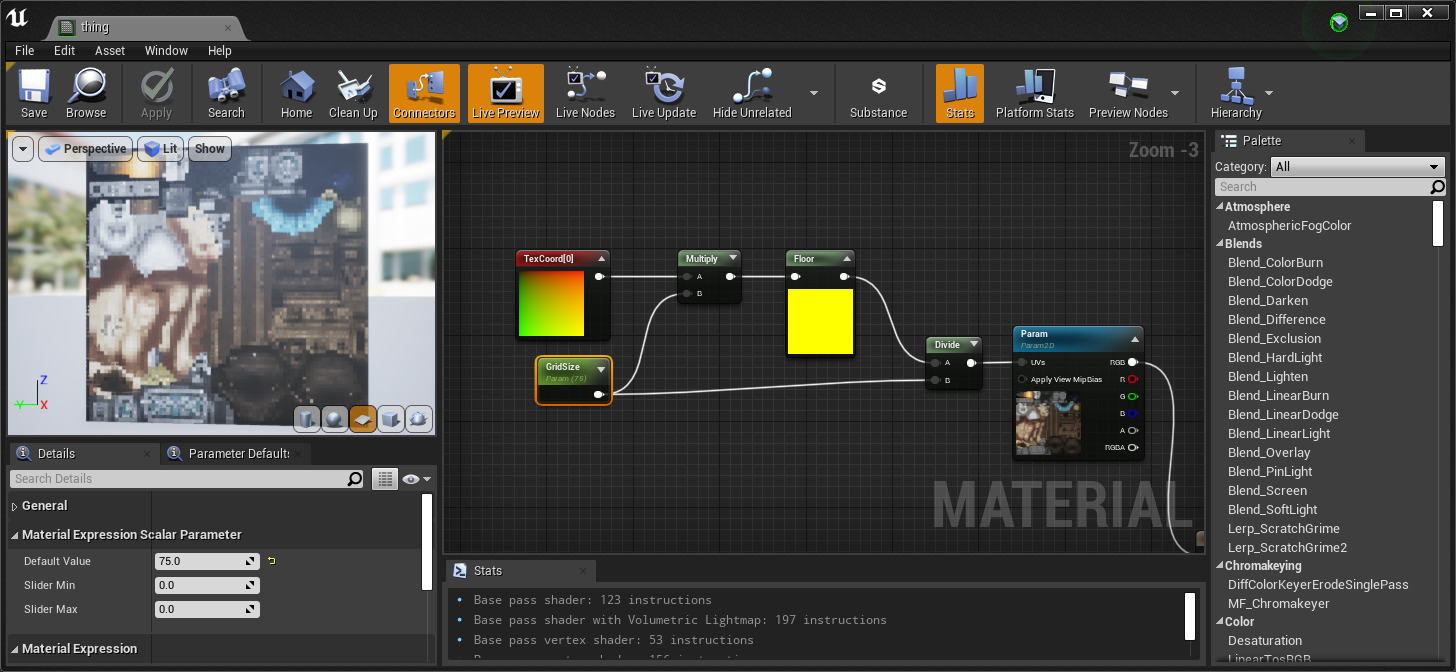
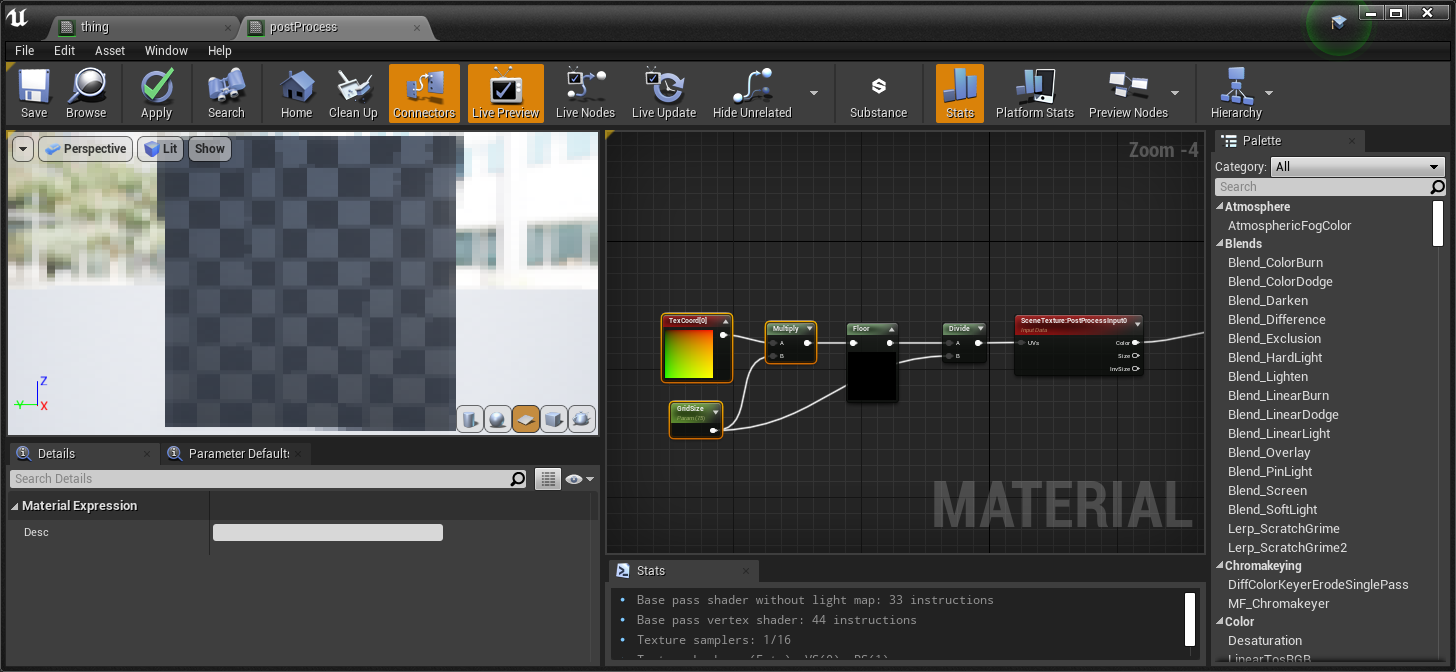
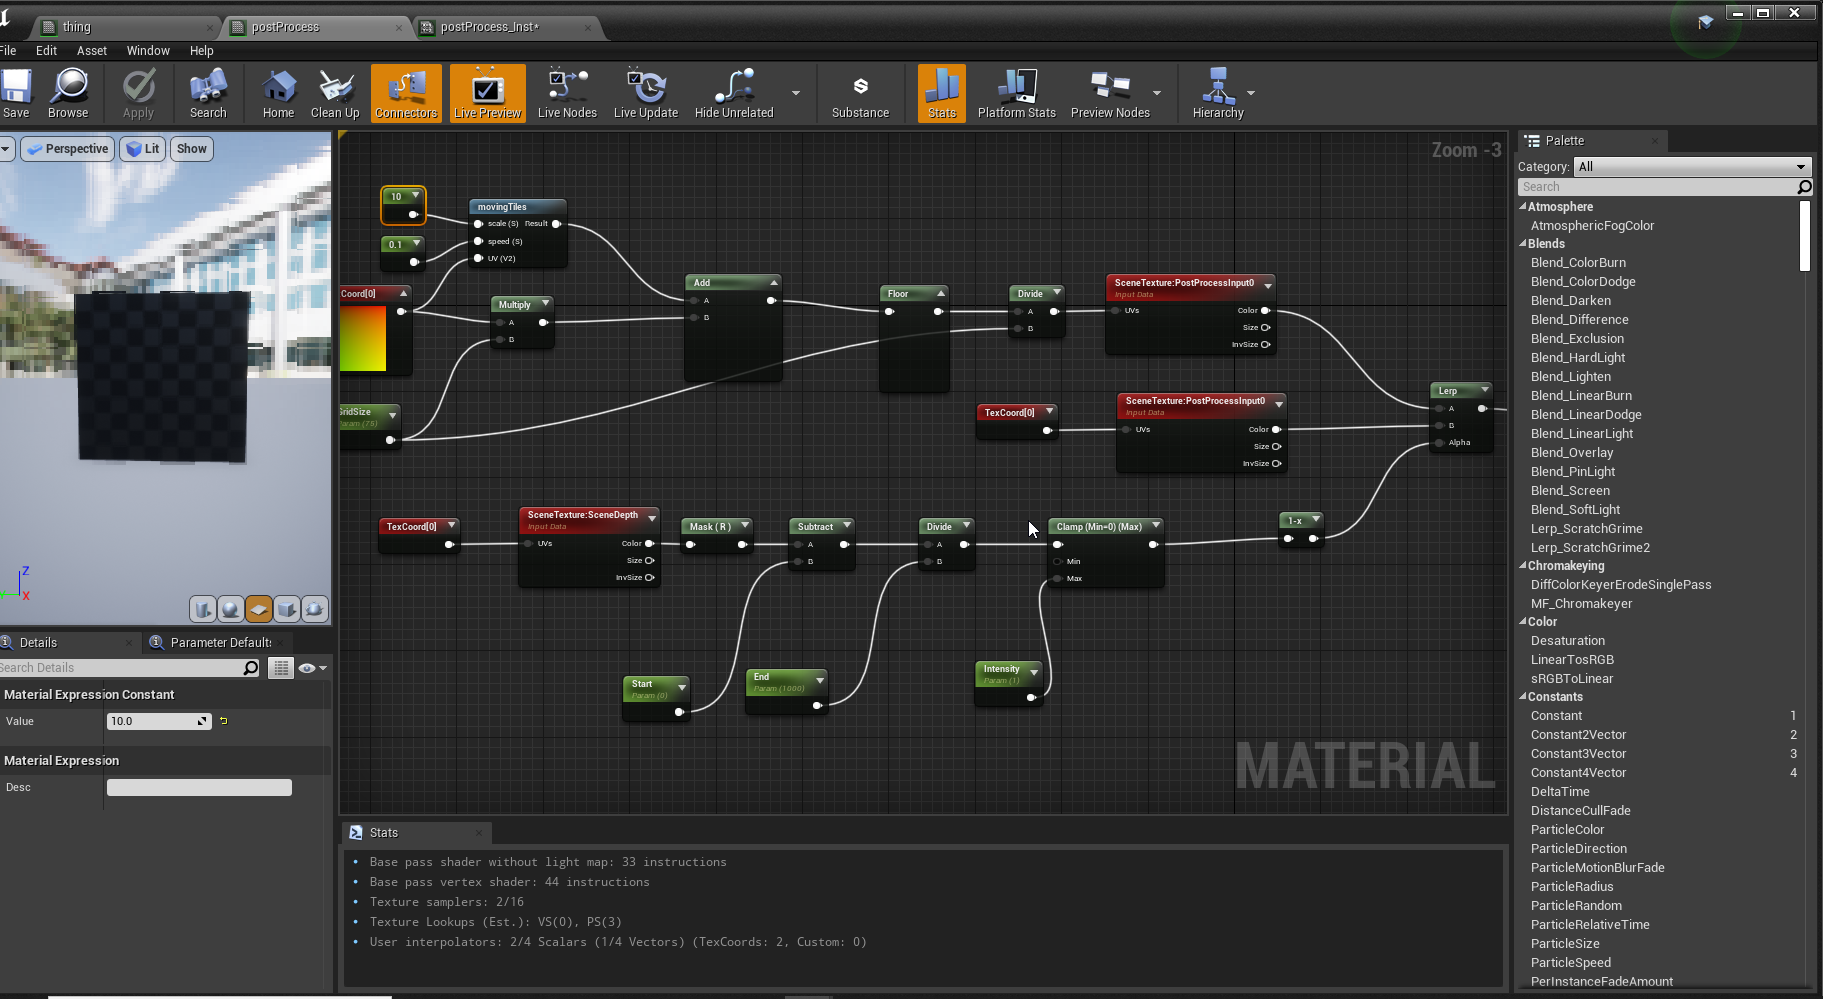
PIXELATE THE UVs
Next step aside from doing the world position vertex thing is making the mesh look pixelated! Now there are a few ways to do this via a post processing effect or on the material itself. I opted to look at both and see which I liked... and of course I don’t know how to edit so I blended them but let’s go into the mesh first:
GRID SIZE 200
GRID SIZE 75
It’s kinda fun to see texture pixelate more or less, and then I thought well I have this crazy animating UV pattern from The Book of Shaders why not incorporate it...

MOVING TILE SIZE 10 GRID SIZE 75
MOVING TILE SIZE 250 GRID SIZE 200

It’s way too much... and I love it... so now to go to post processing and what that looks like.
GRID SIZE 75

GRID SIZE 200
Now it looks like I’me done.
BUT WAIT CAN I ADD TOO MUCH? - yes yes I can
I certainly know how to pile it on, so in the post processing I wanted to animate the UVs like I did the individual mesh!
MOVING TILE SIZE 10 GRID SIZE 75
MOVING TILE SIZE 250 GRID SIZE 200
It’s... BEAUTIFUL... but wait why not add some background and clip this effect to some scene depth?
Now to go overboard just need to animate the mesh UVs.... and you have it all there: