Tech Art Chronicles: Stained Glass
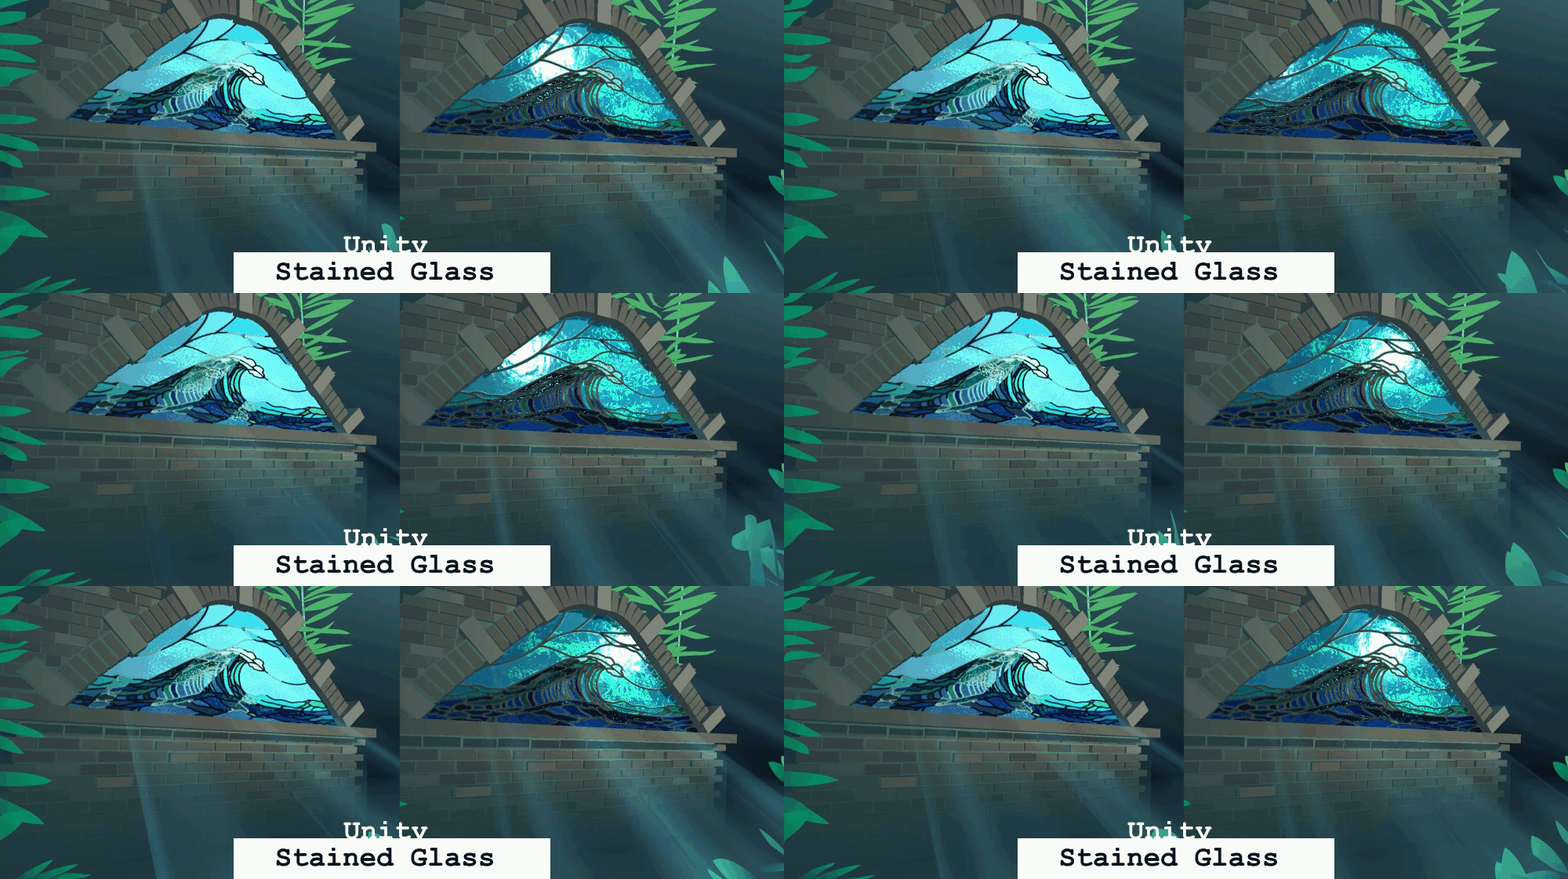
In the Technically Speaking Discord I had suggested a theme a while back for “Stained Glass” tech art challenge and it was quite a surprise when it won later in a bi-weekly voting for the theme. So then I had to make something for it since I did suggest it, the guilt. I wanted to go back to stained glass because while I had made glass previously in Unreal it wasn’t quite the visual I wanted.
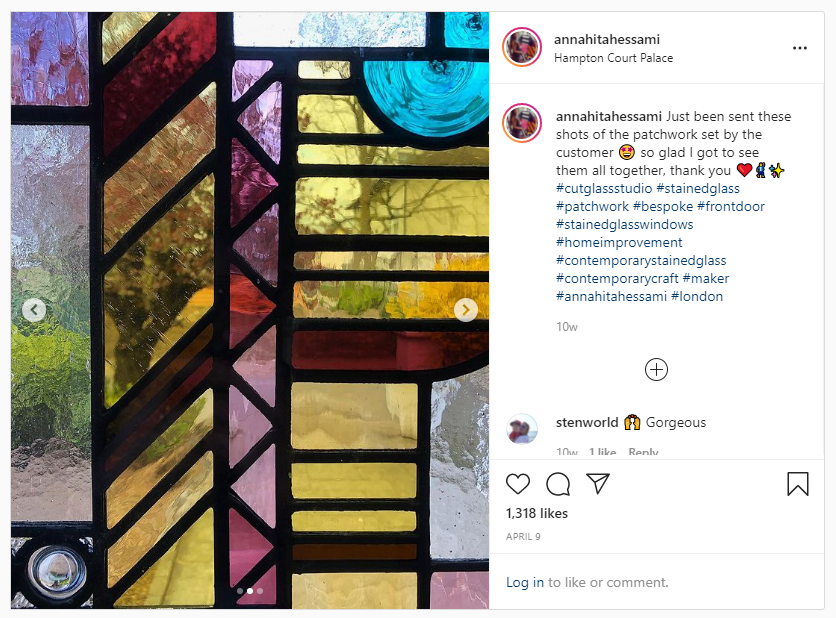
The stained glass is inspired by the amazing work of Cut Glass Studio look at the inspiring glass there. There was more I wanted to try. I didn’t quite see my vision realized with this stained glass even though I think I got the welds of the lead and the lines visualized and that was interesting. I wanted something similar to a stylistic stained glass like Laure De Mey’s twitter here:
So now with this challenge I knew I had another chance (forced chance) to look at stained glass again and see if I can get something more similar to the stylistic version vs the Unreal version.
MAKING THE TEXTURES
So now to making the stained glass... the annoying part was the stained glass shapes itself. So I was inspired by this studio Lawrence Ribbecke Studios
that made the actual stained glass version of the wave! Go take a look! But I started by just making the stained glass bits by tracing in illustrator each section and making up my own:
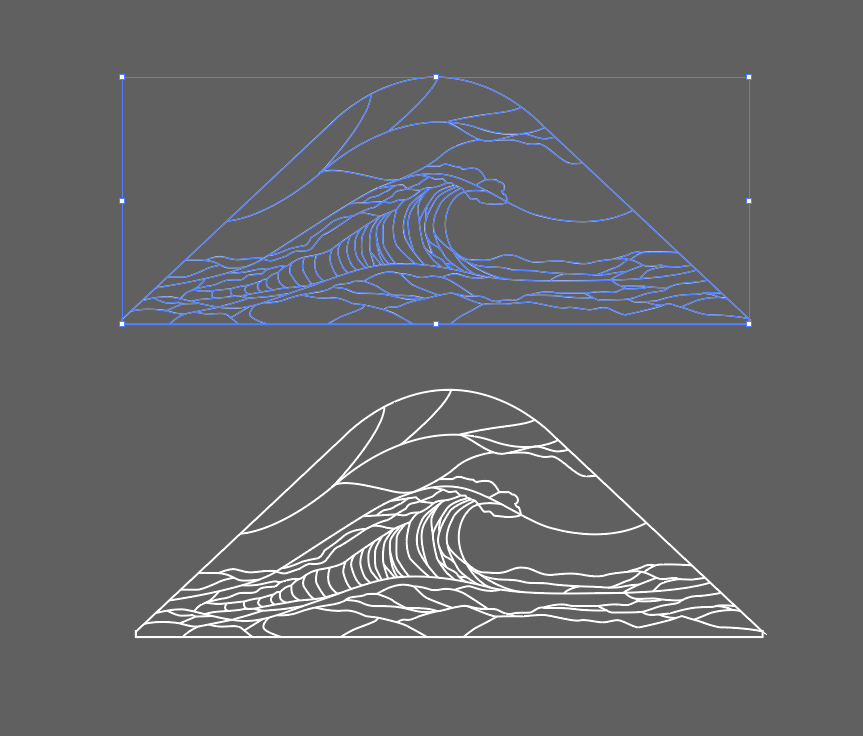
I took those lines and put them into photoshop then used the magic wand + some hand painting and colored the entire thing which also took up tons of time... DO NOT RECOMMEND unless you can put on some chill music or stream or a podcast or a show.
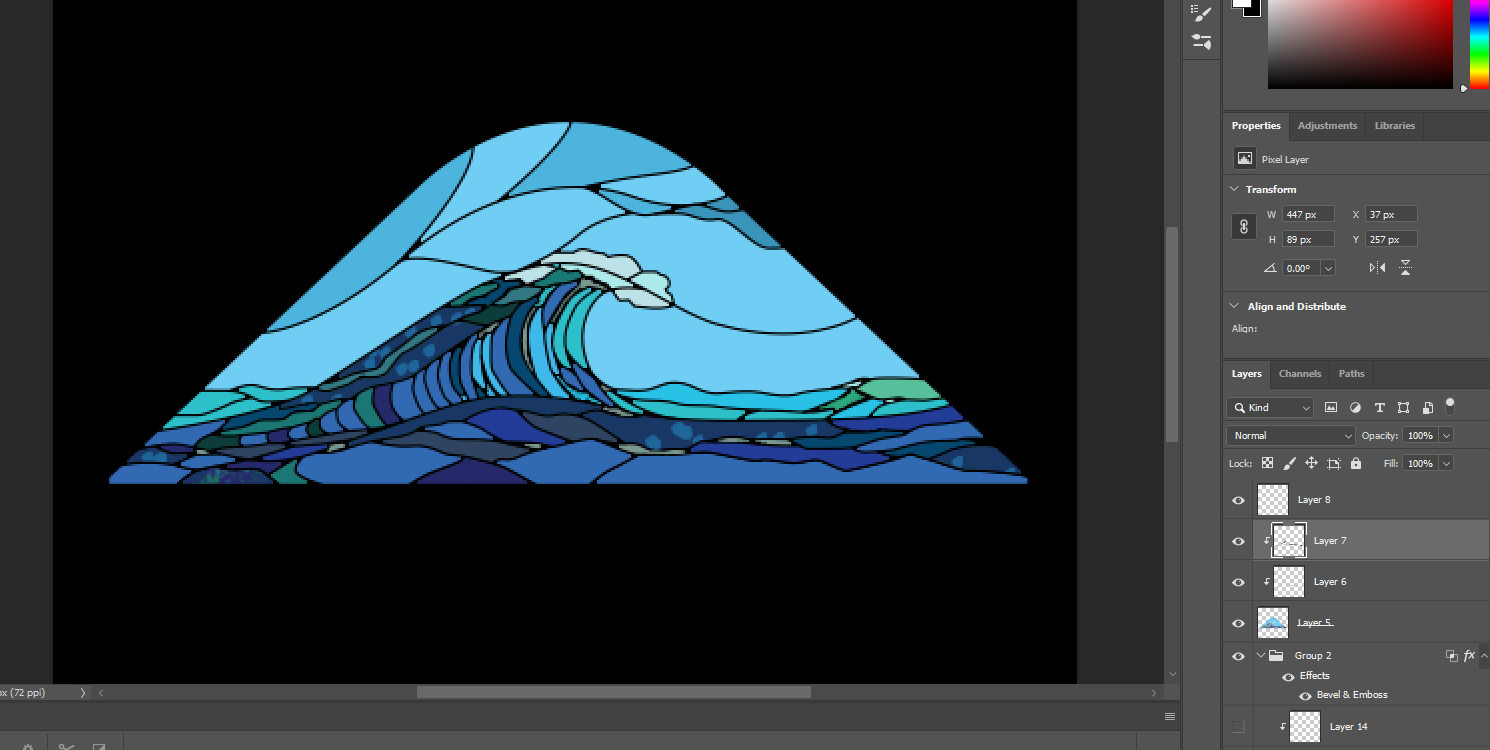
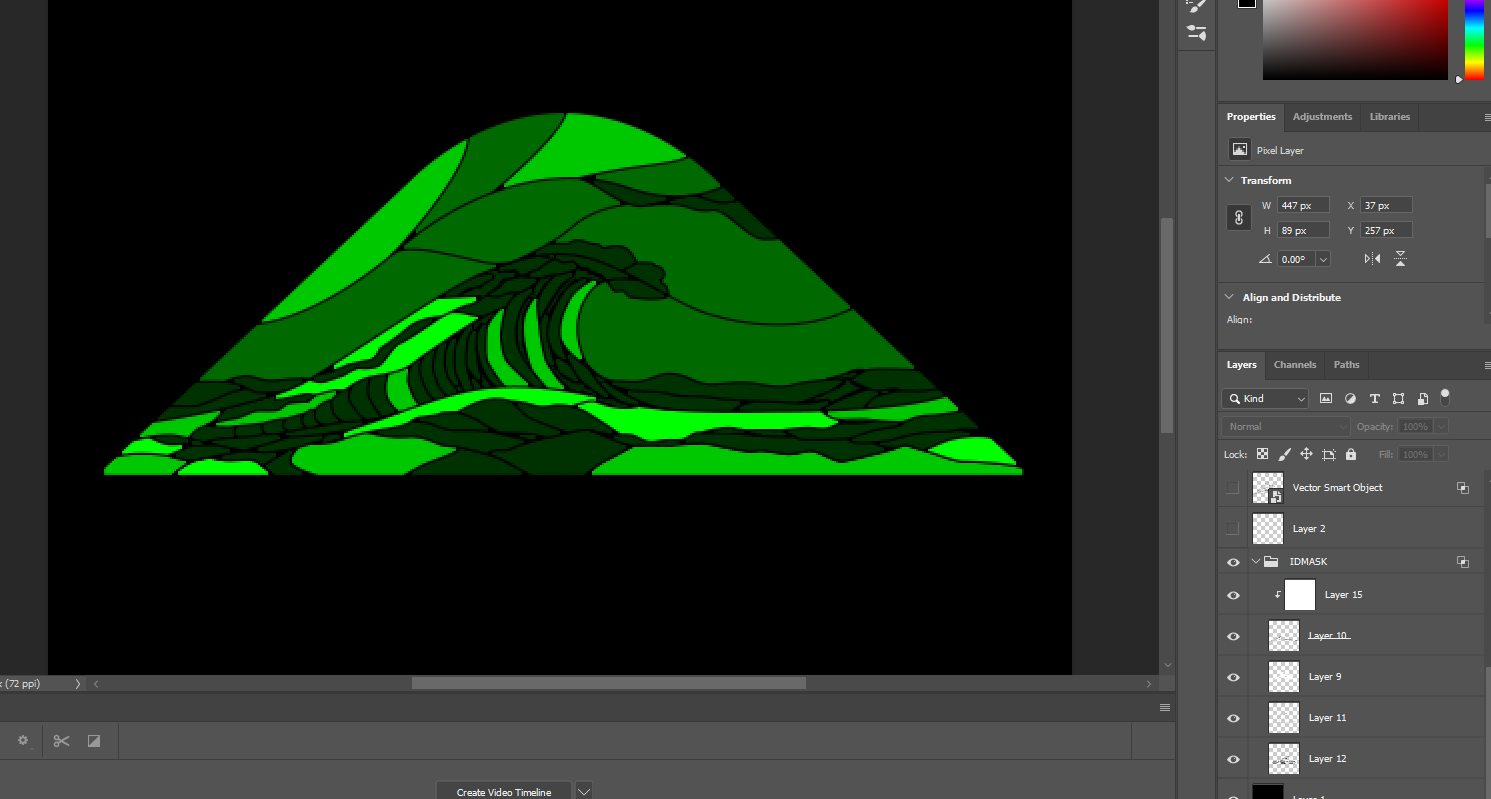
The final results end up looking like this where the brighter White (green in PS) areas on my ID mask get more bumpy normals to displace the surface with.
Then the Red channel -- the lead lines and I just had a thicker stroke and I put a little photoshop bevel on them to make it look a bit smoother when I used it for normals. Oh and I had an alpha which was just the colored version but white so I could define the glass parts from the lead parts easily... probably could have been in the blue or done different but that’s just what I made.
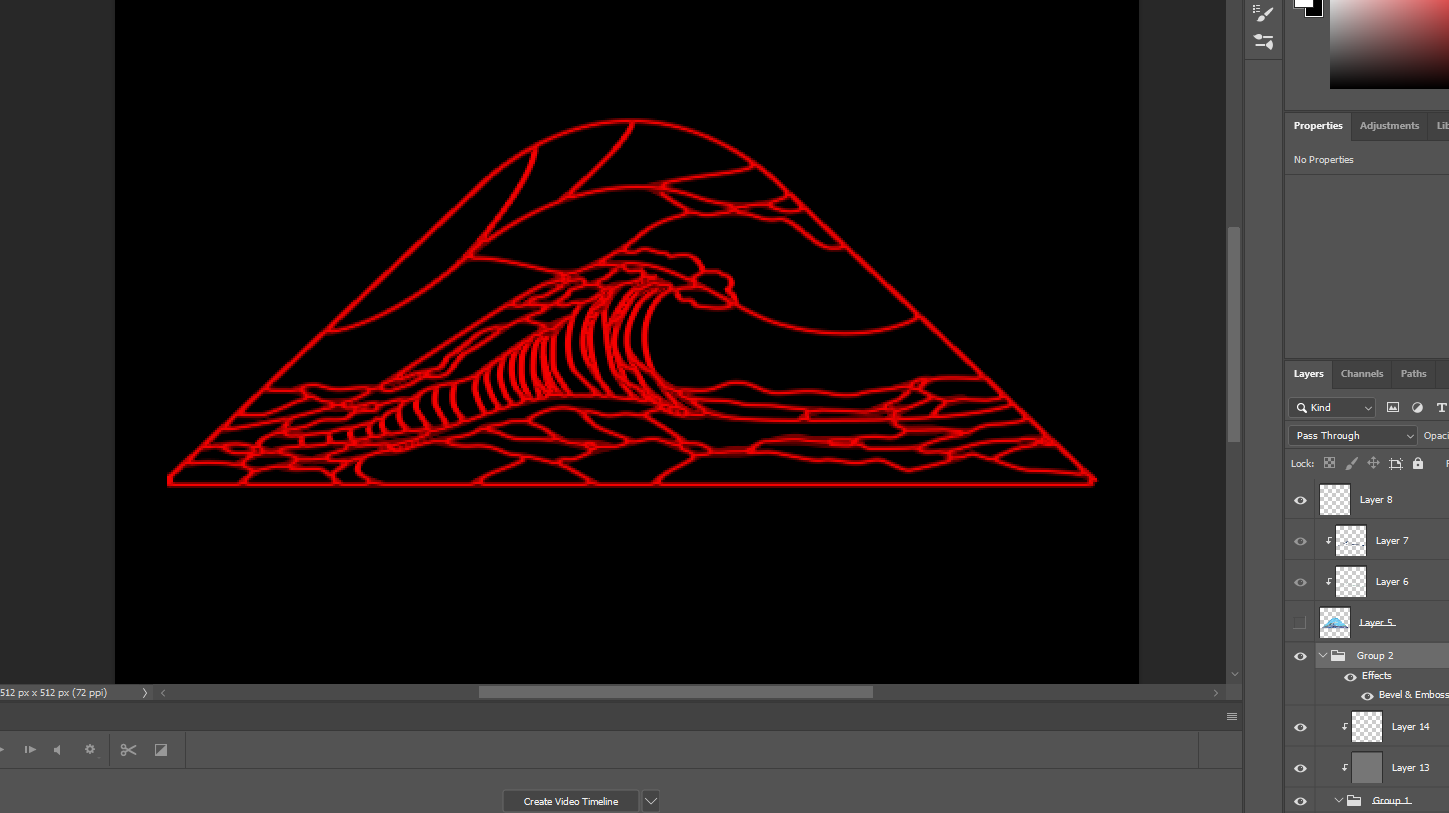
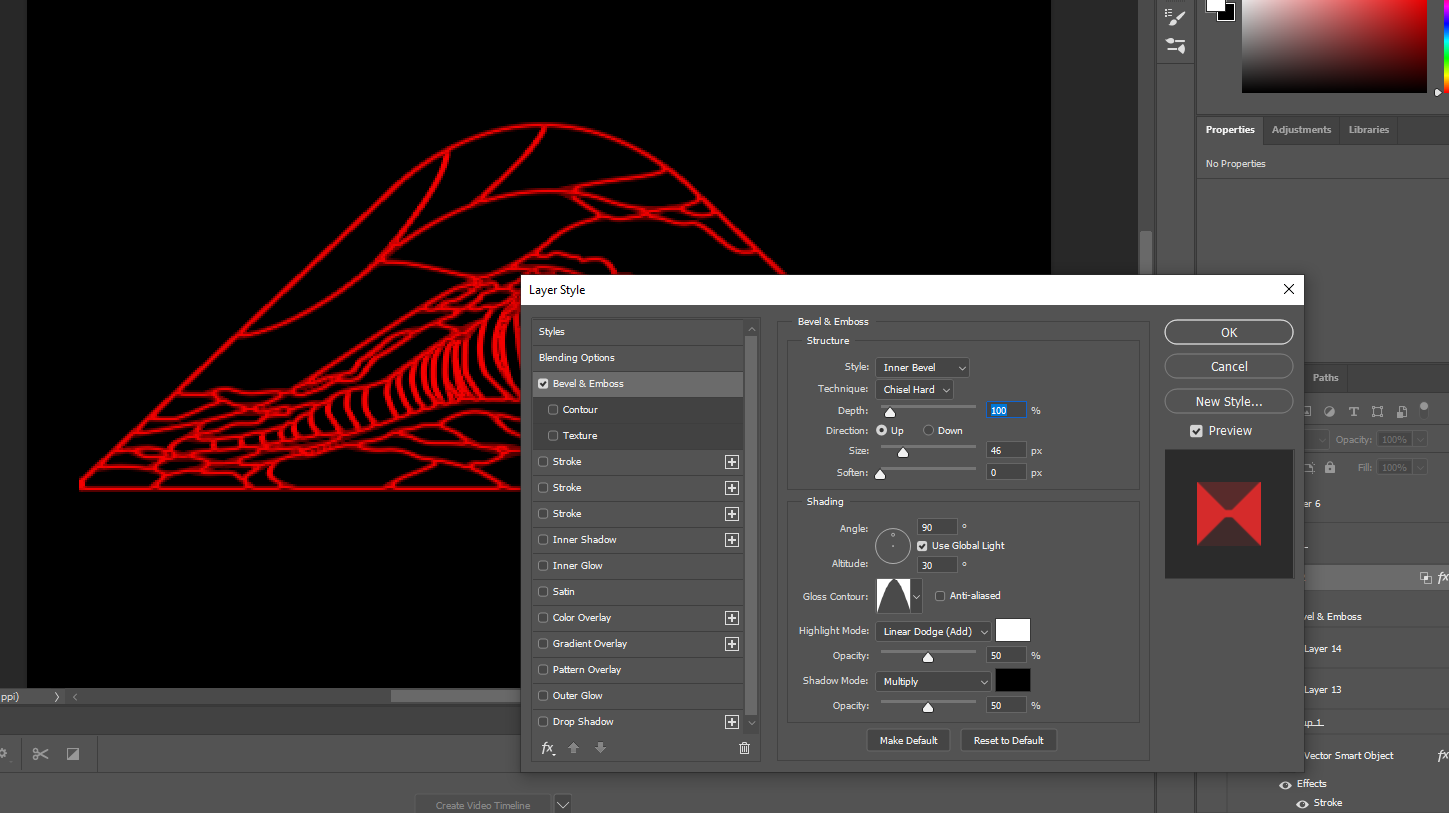
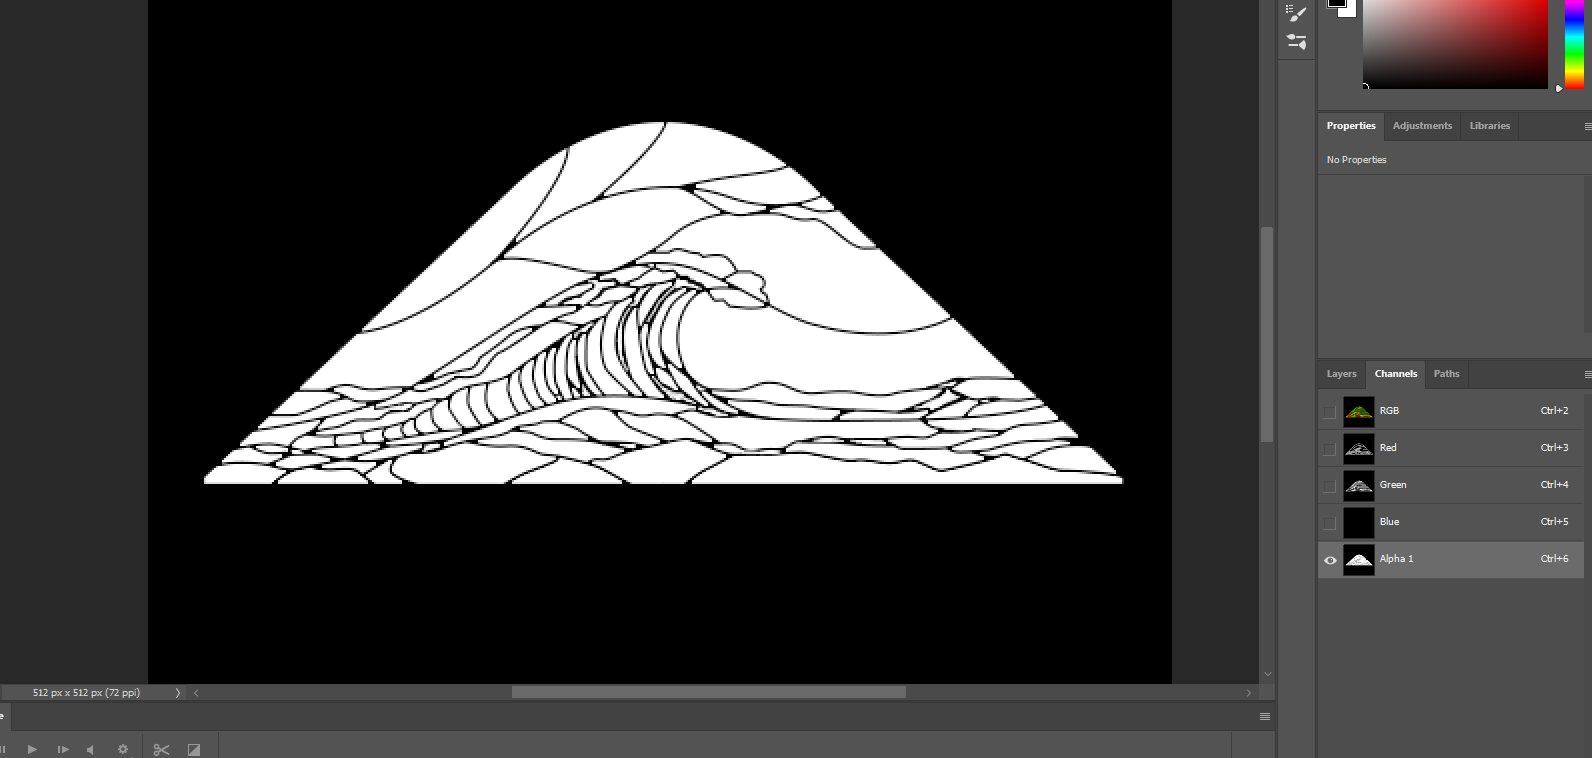
NOW we’re ready to go into Unity with those two textures one is the colored glass and the other is the RG/A.
MAKING THE SHADER
So the first thing I wanted to do was get some reflection and refraction in the shader so I looked up some shader graph tutorials on reflection and refraction and basically using this youtube tutorial to get some kind of index of refraction working with a little bit of a reflection probe as well.
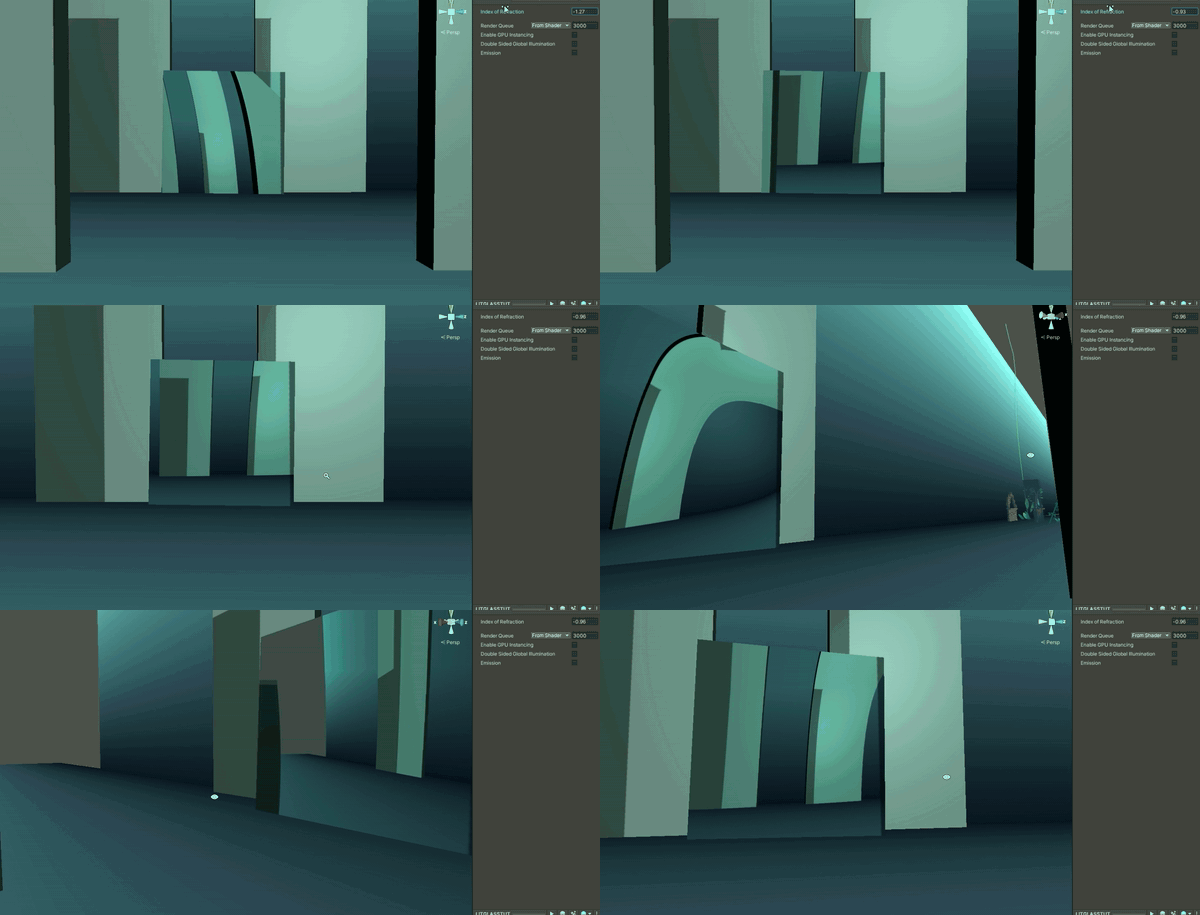
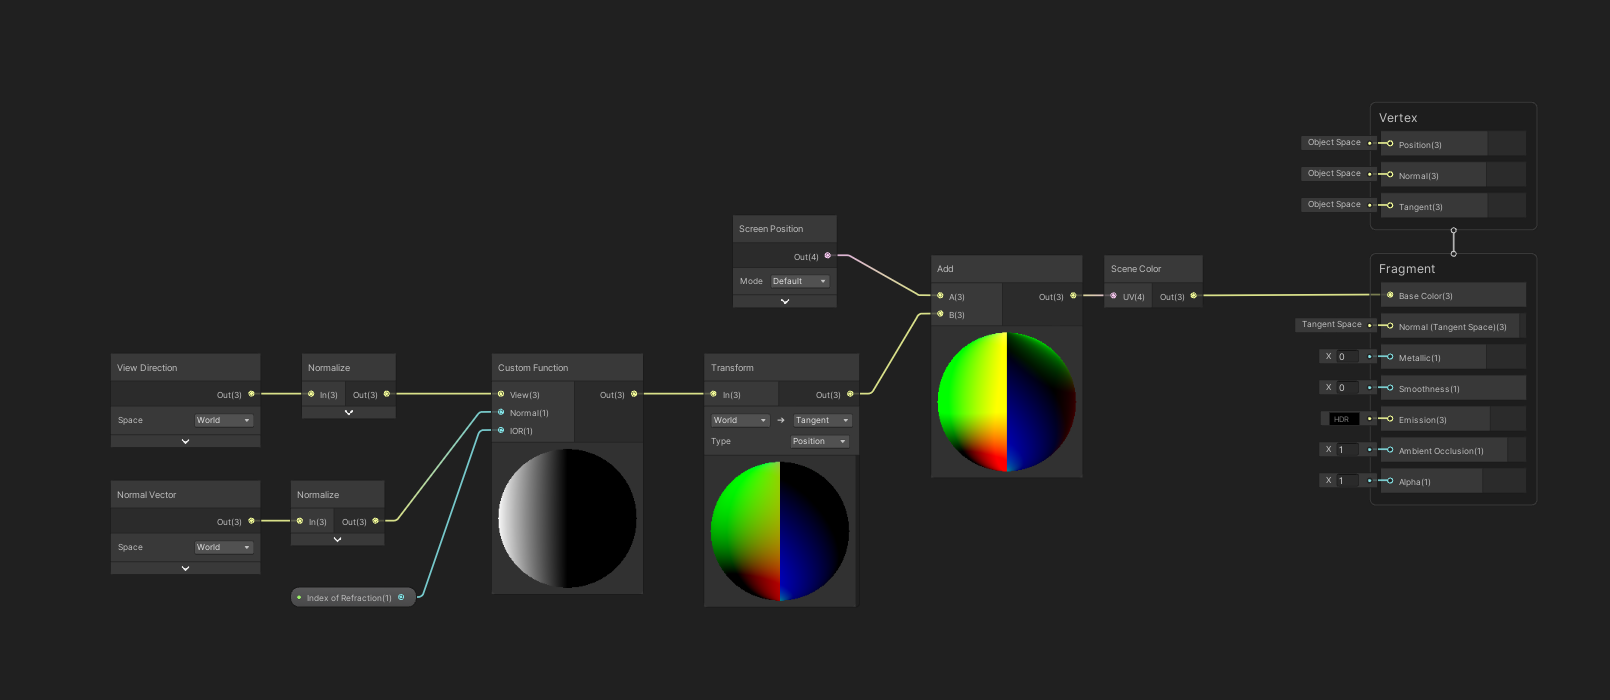
And with a runtime reflection probe + some scene and texture intensity blending with the refraction index you can get some interesting results
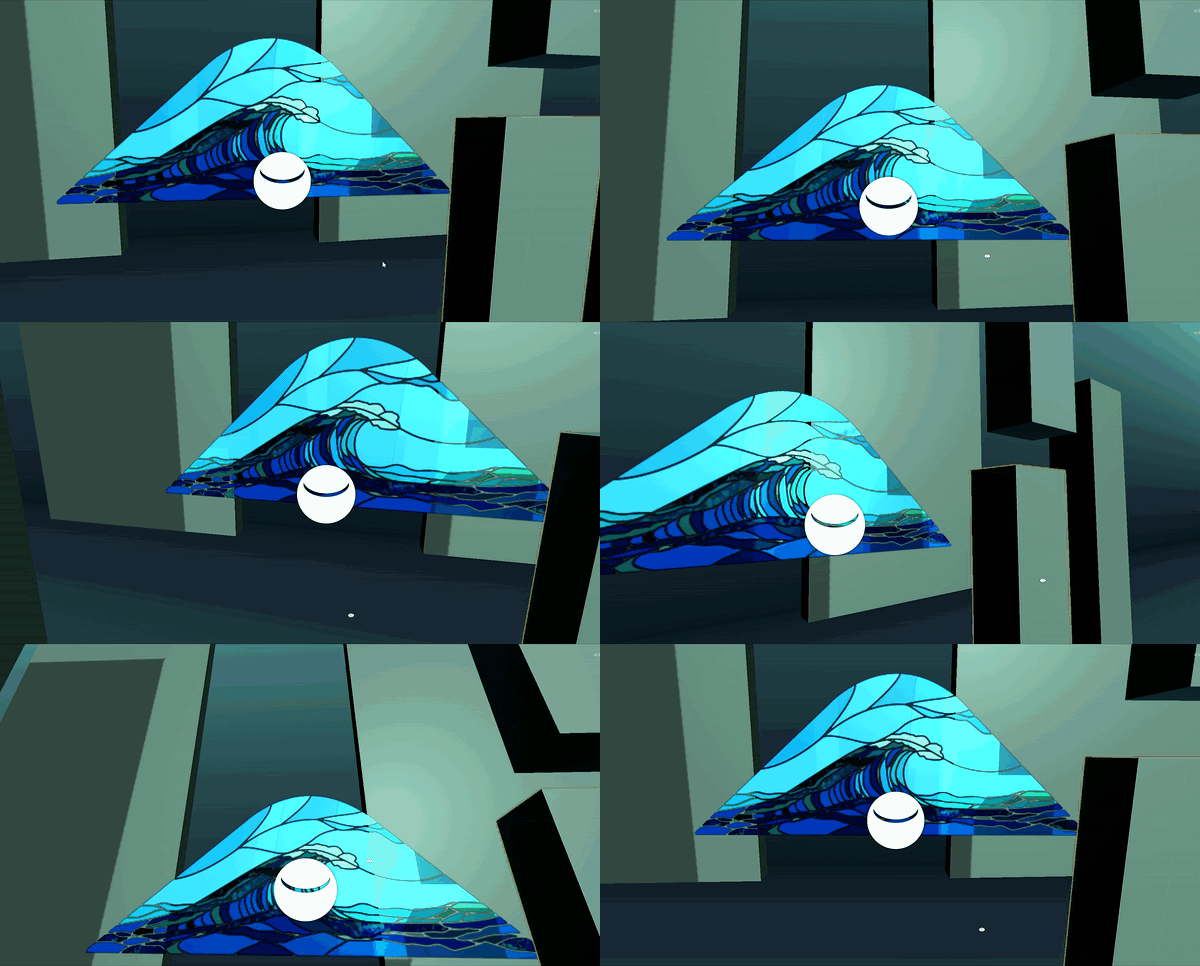
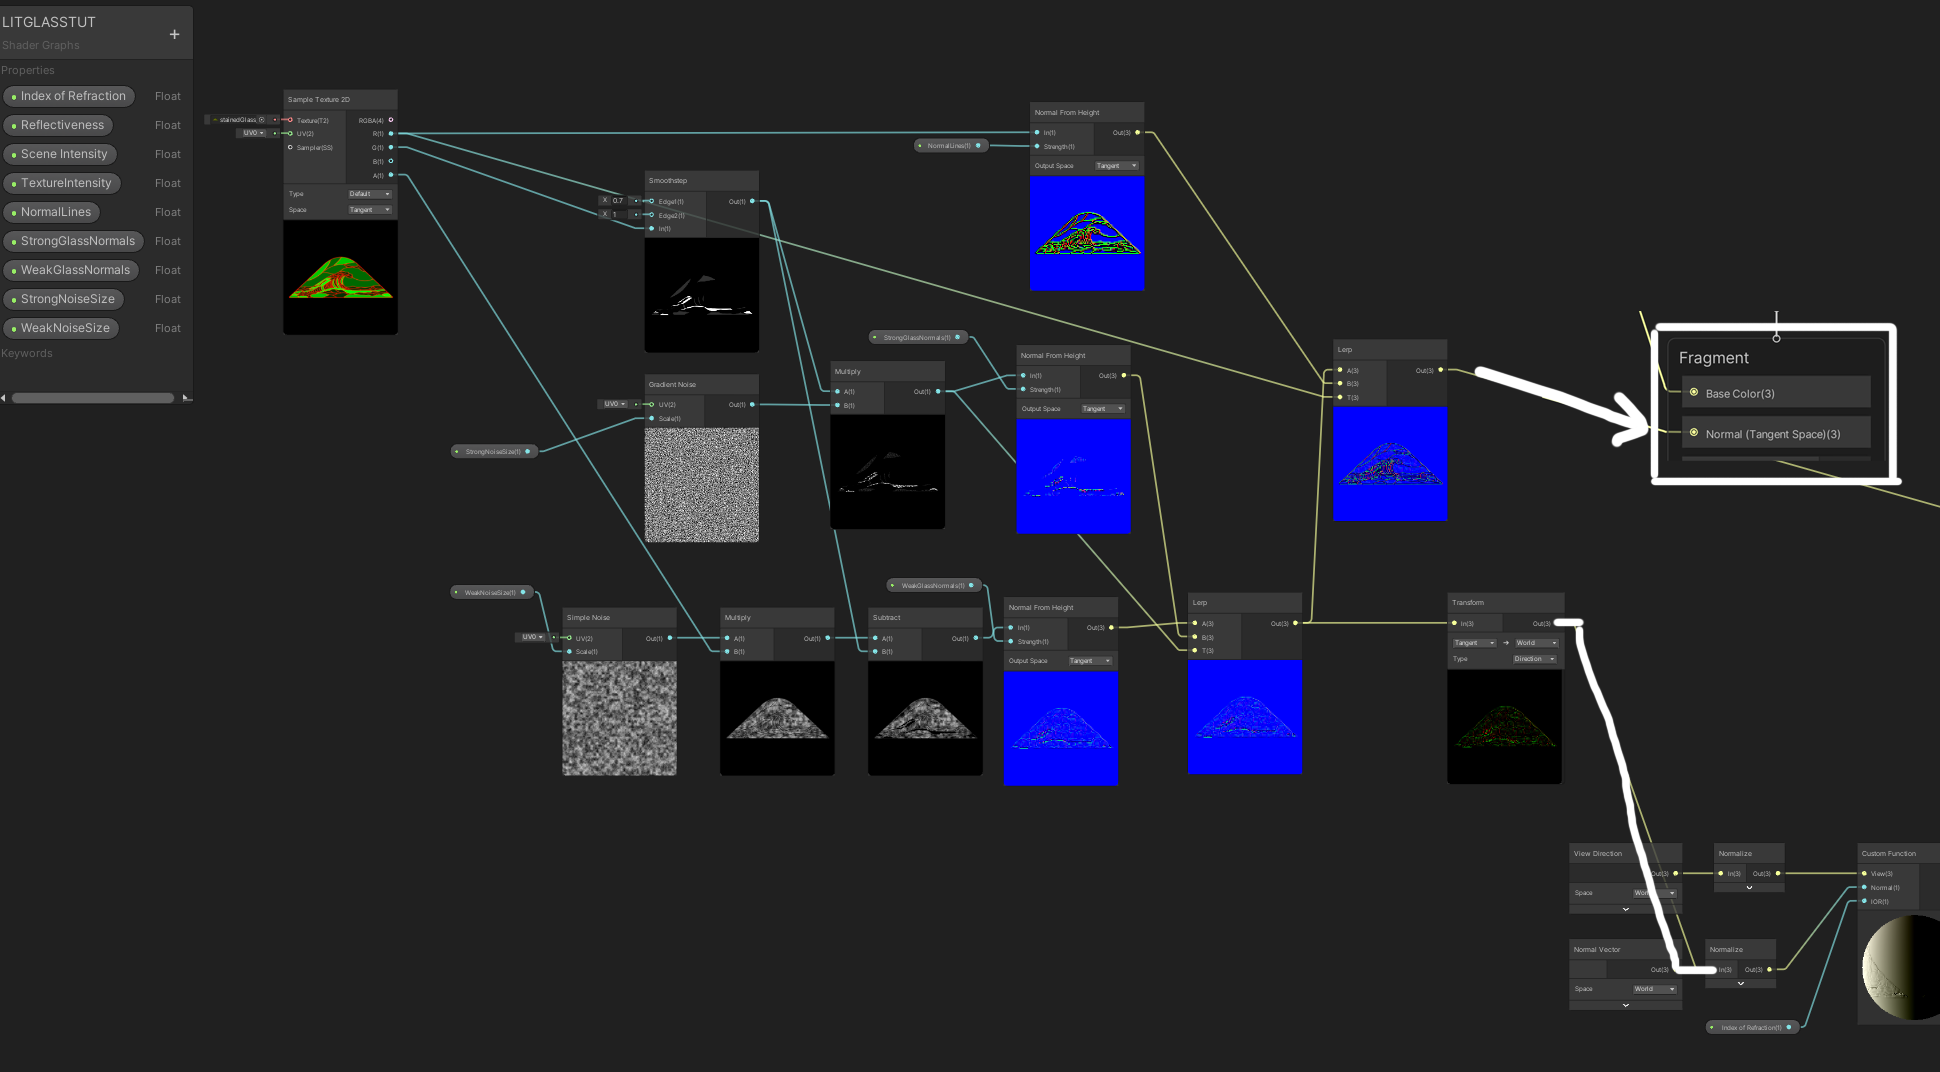
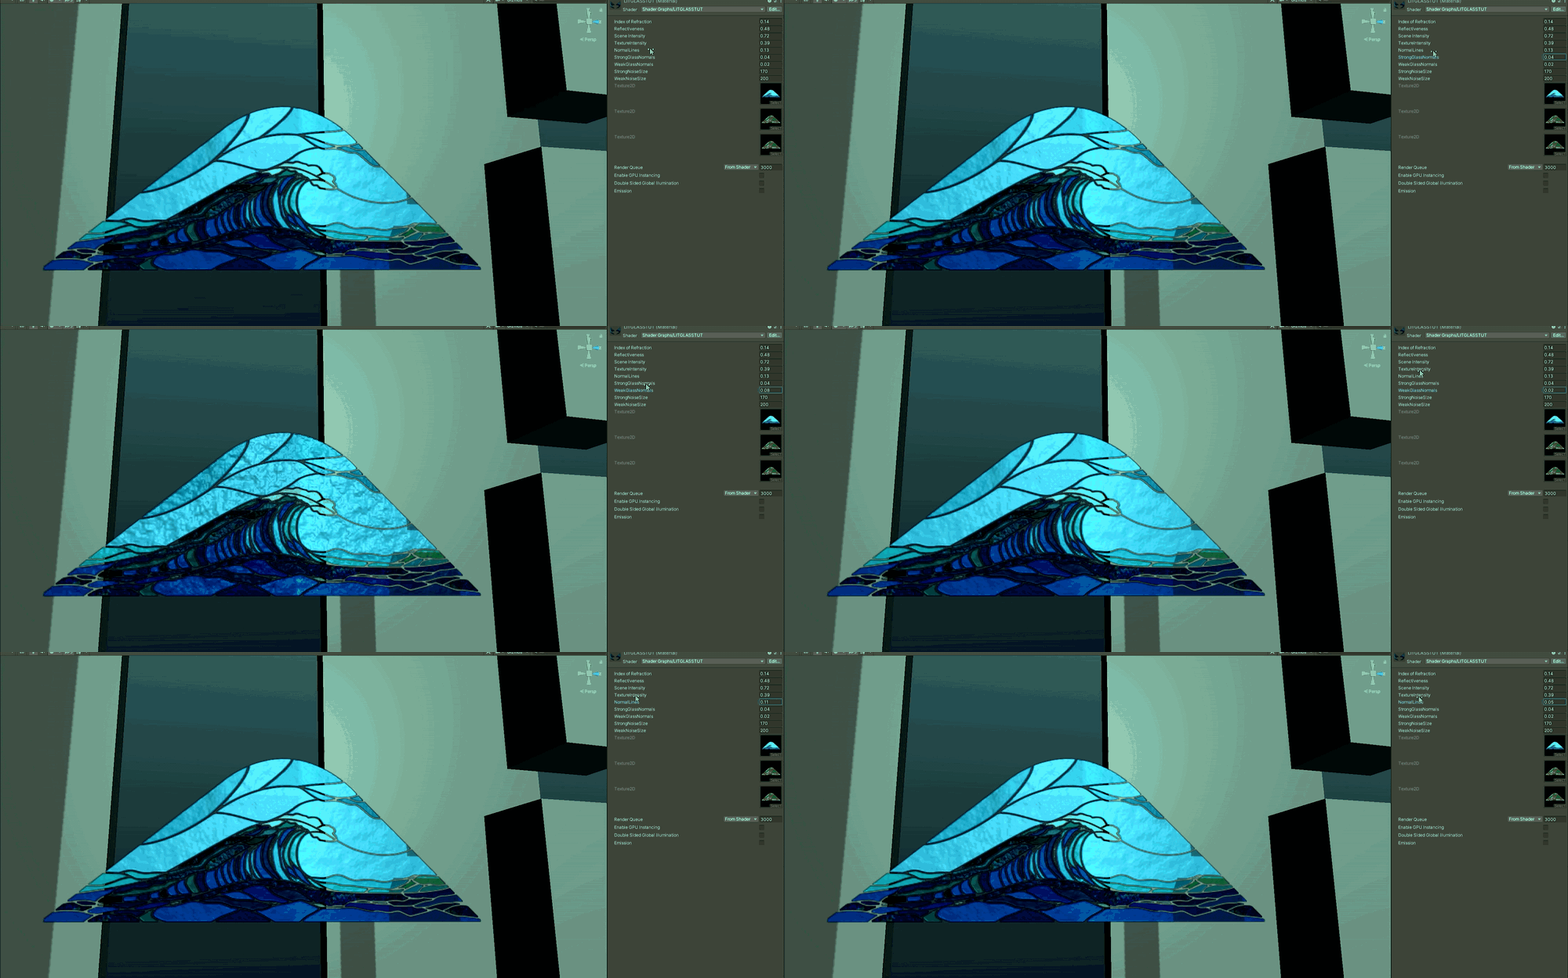
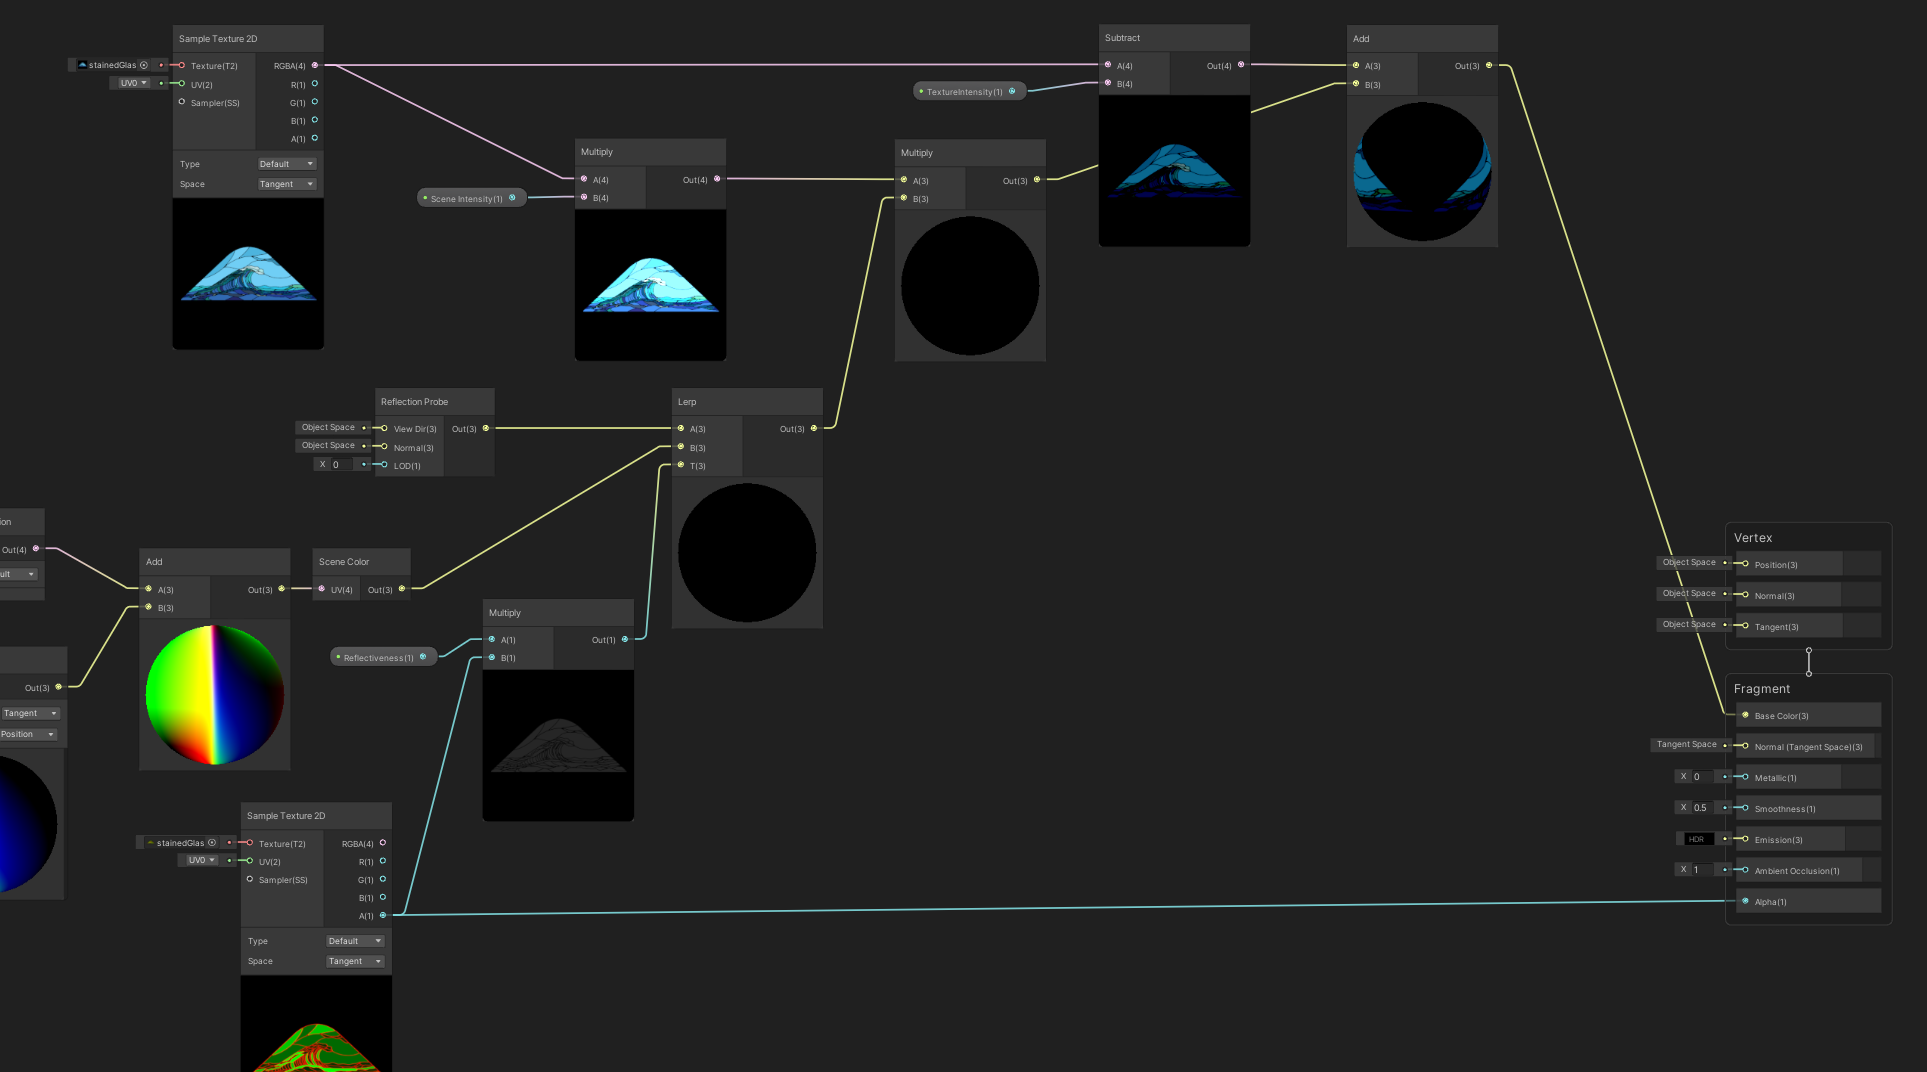
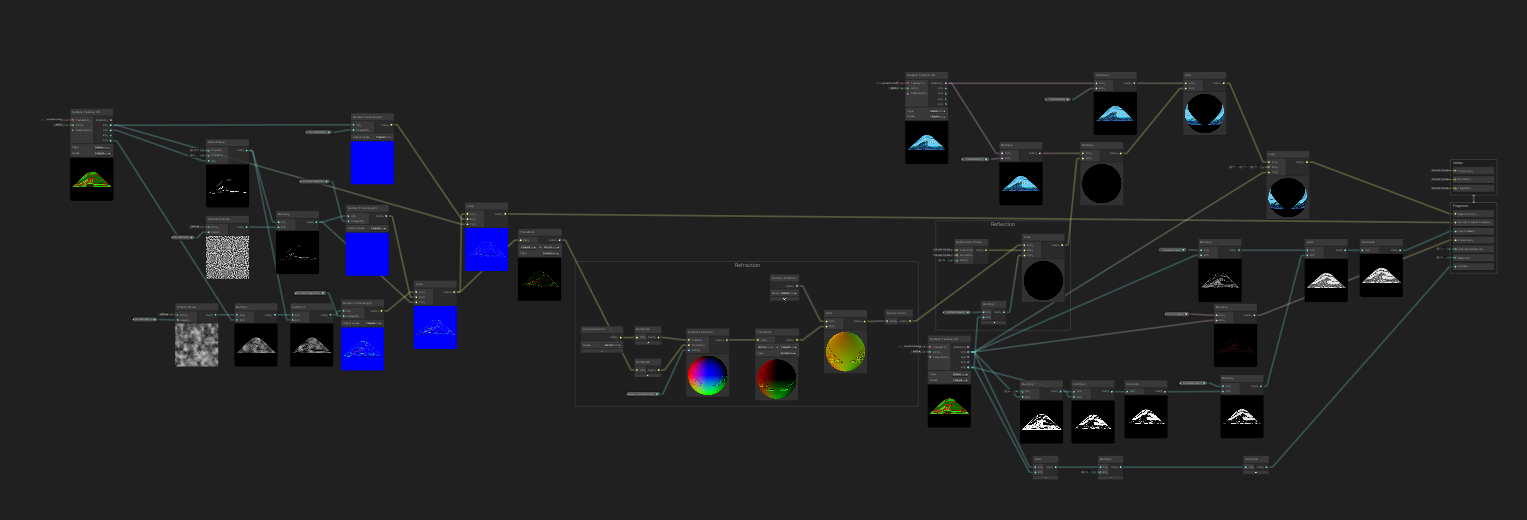
The shader graph looks something like this so far:
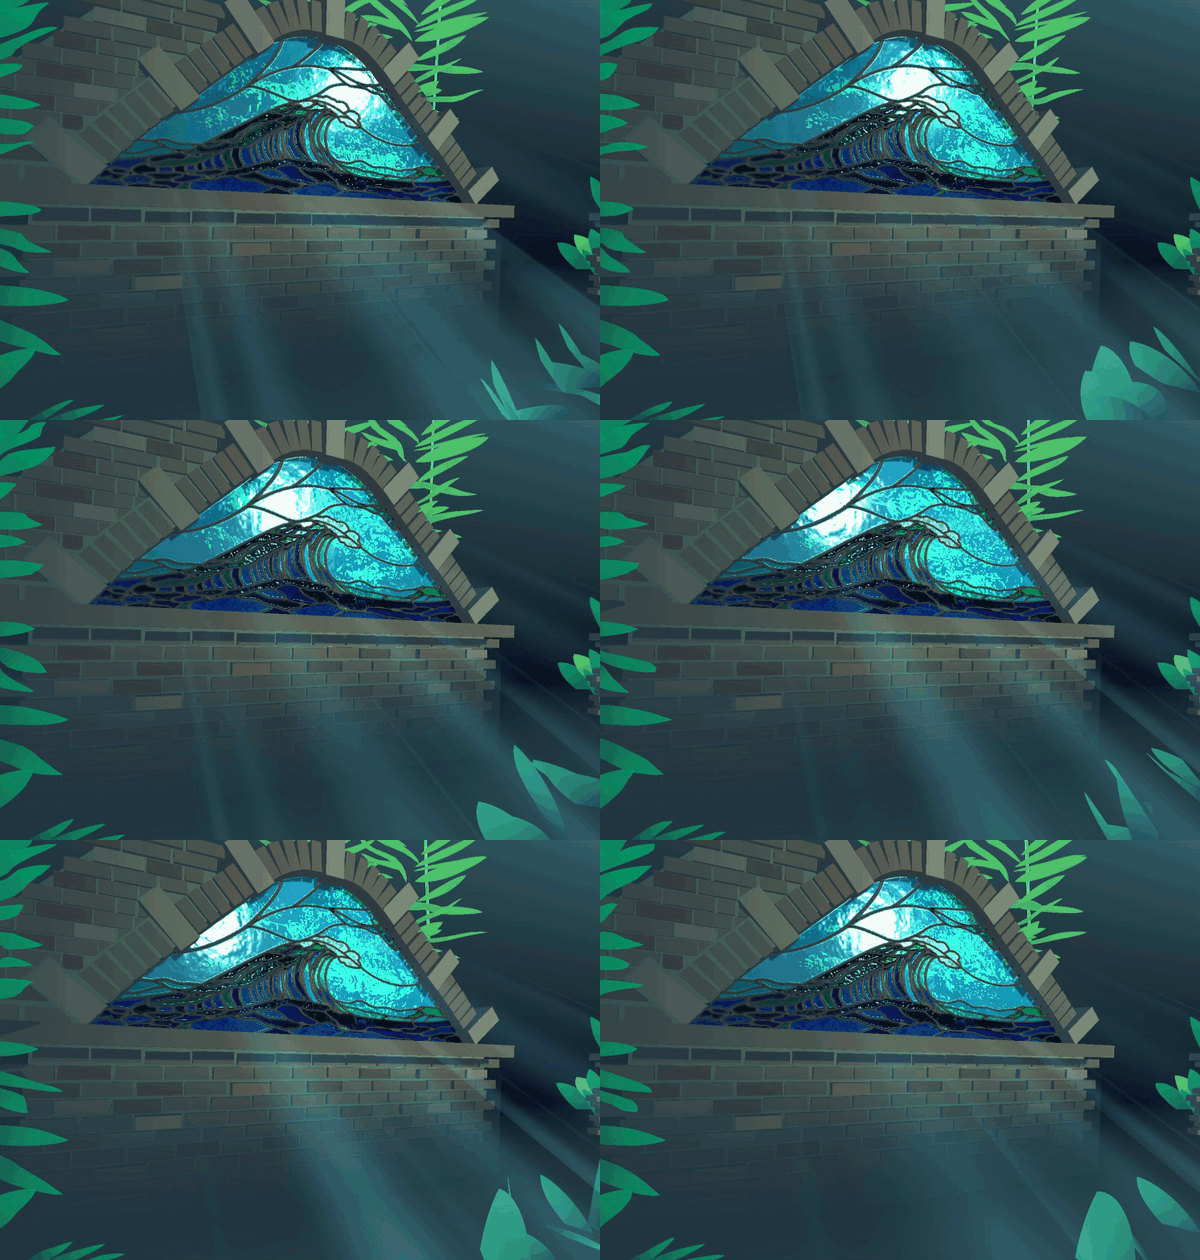
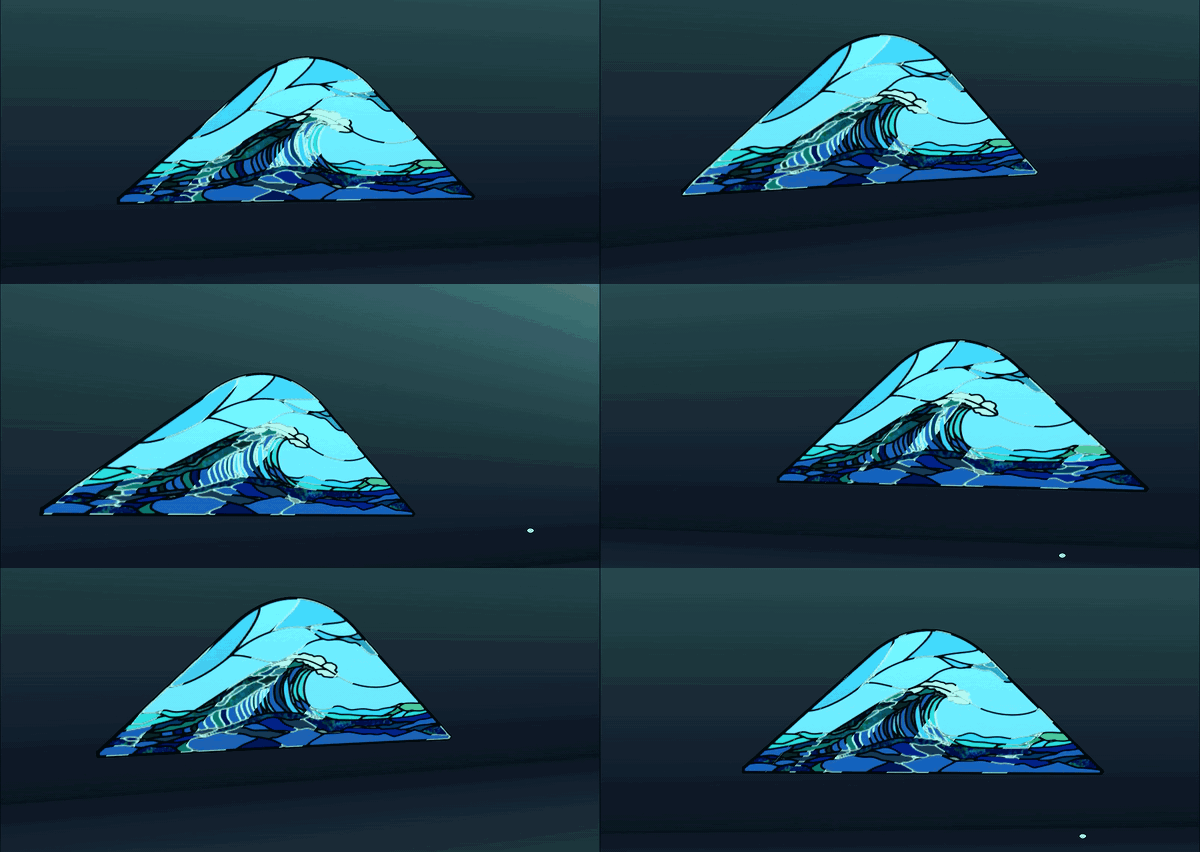
And in the end with some tweaking of values I got something peaceful like this:
MAKING THE UNLIT SHADER
Now the unlit shader isn’t THAT different but instead it obviously has its own lighting in it and so I used Cyan’s Git of custom HLSL lighting in Unity Shader Graph. It's amazing. I highly recommend using it. I wanted to use specular so I just picked some specular and started to abuse the specular.
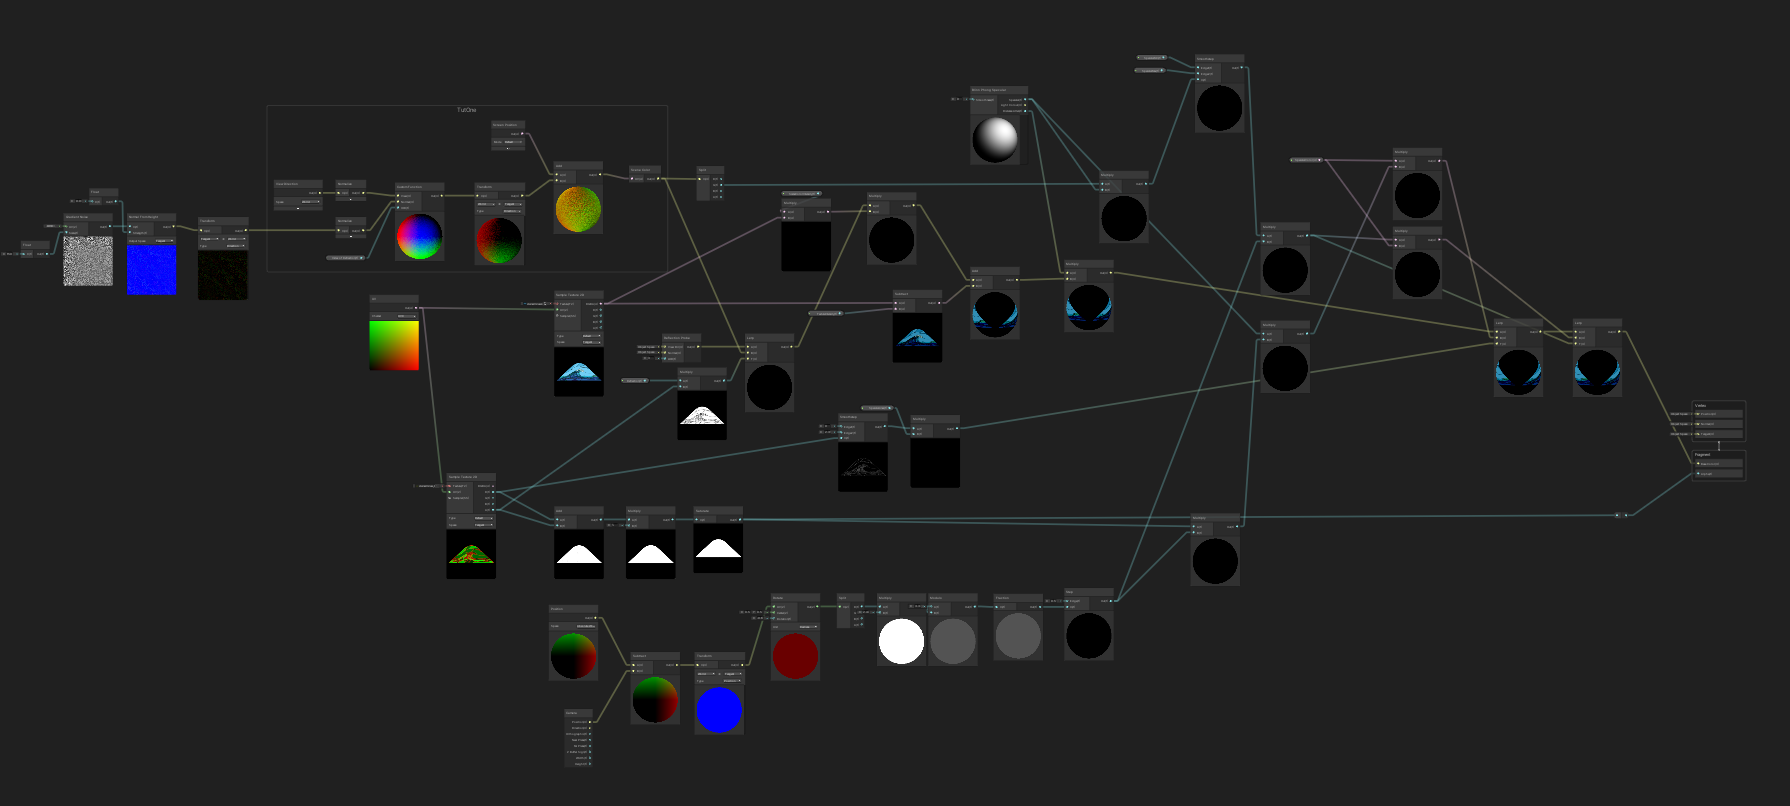
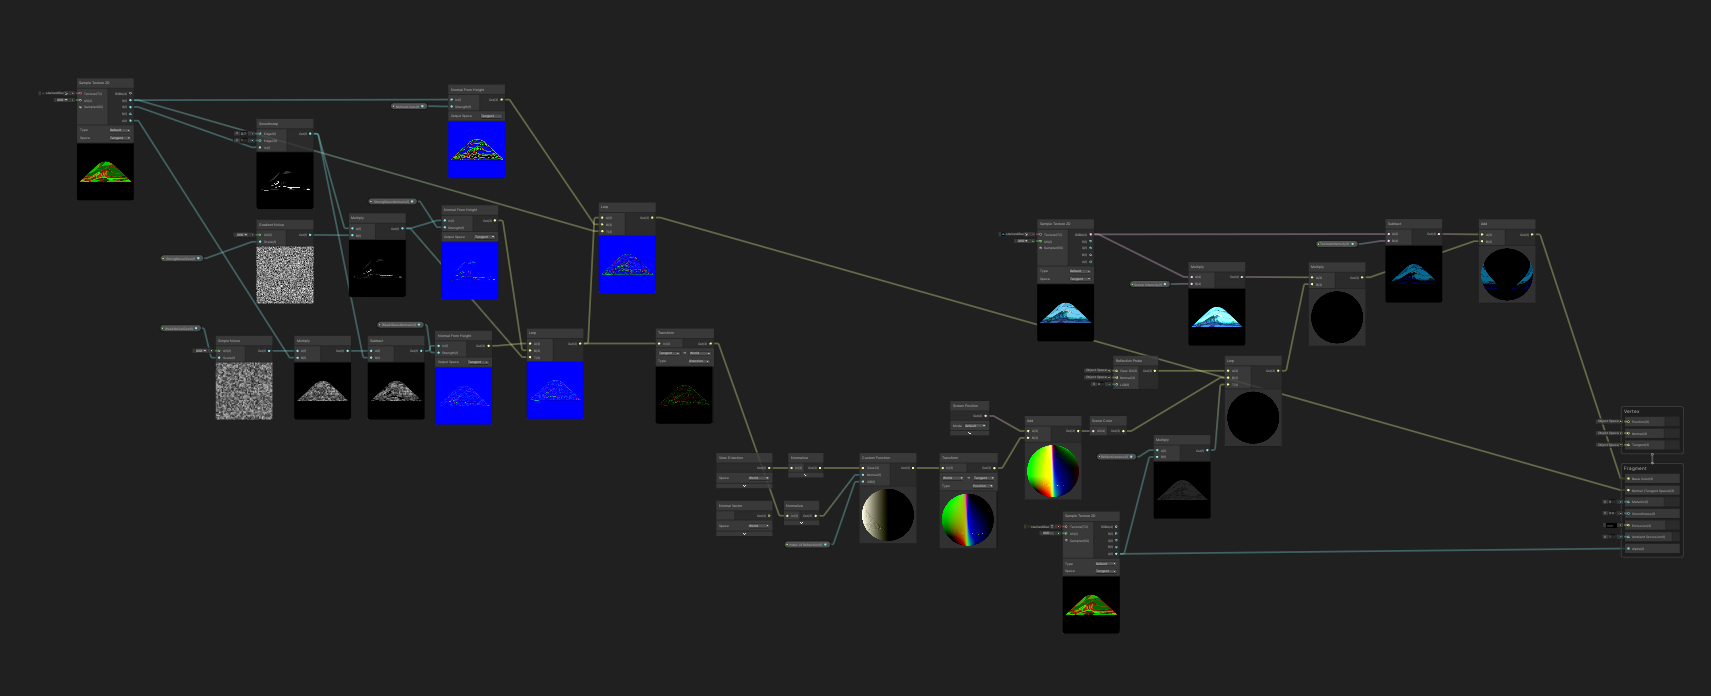
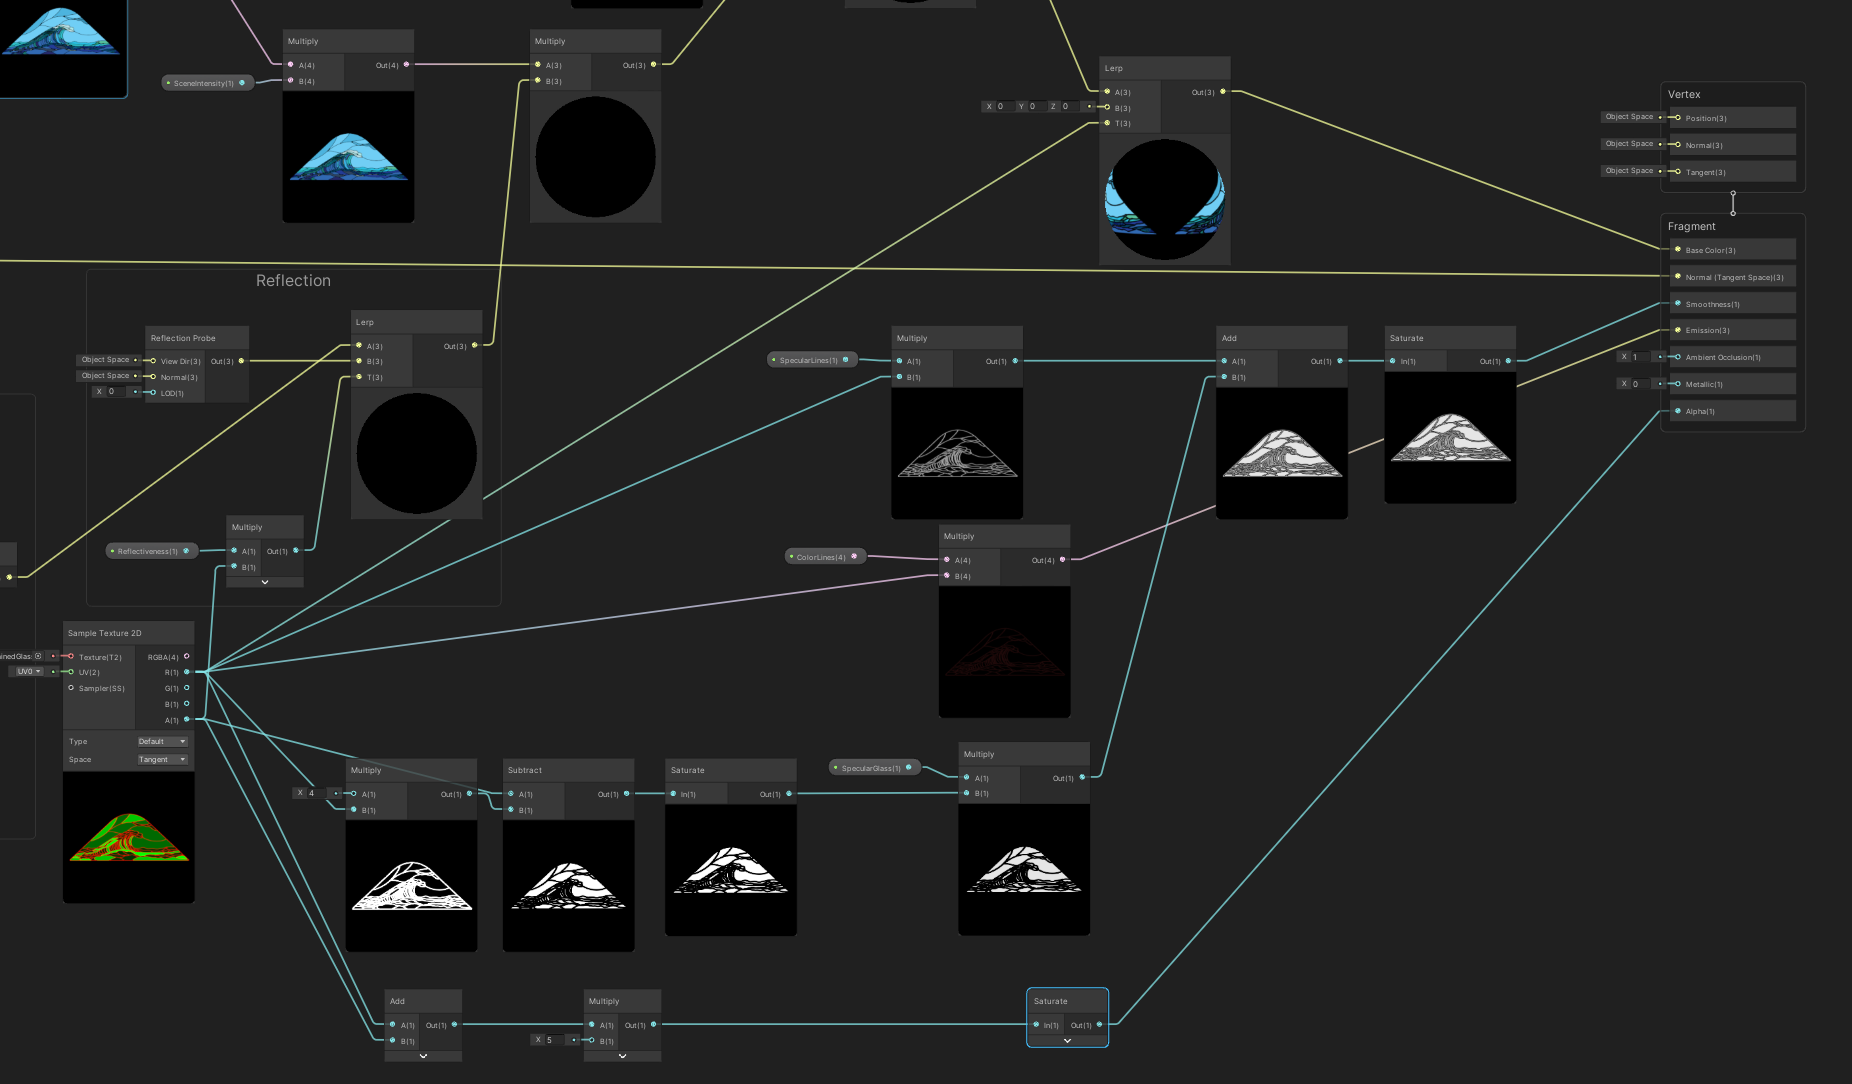
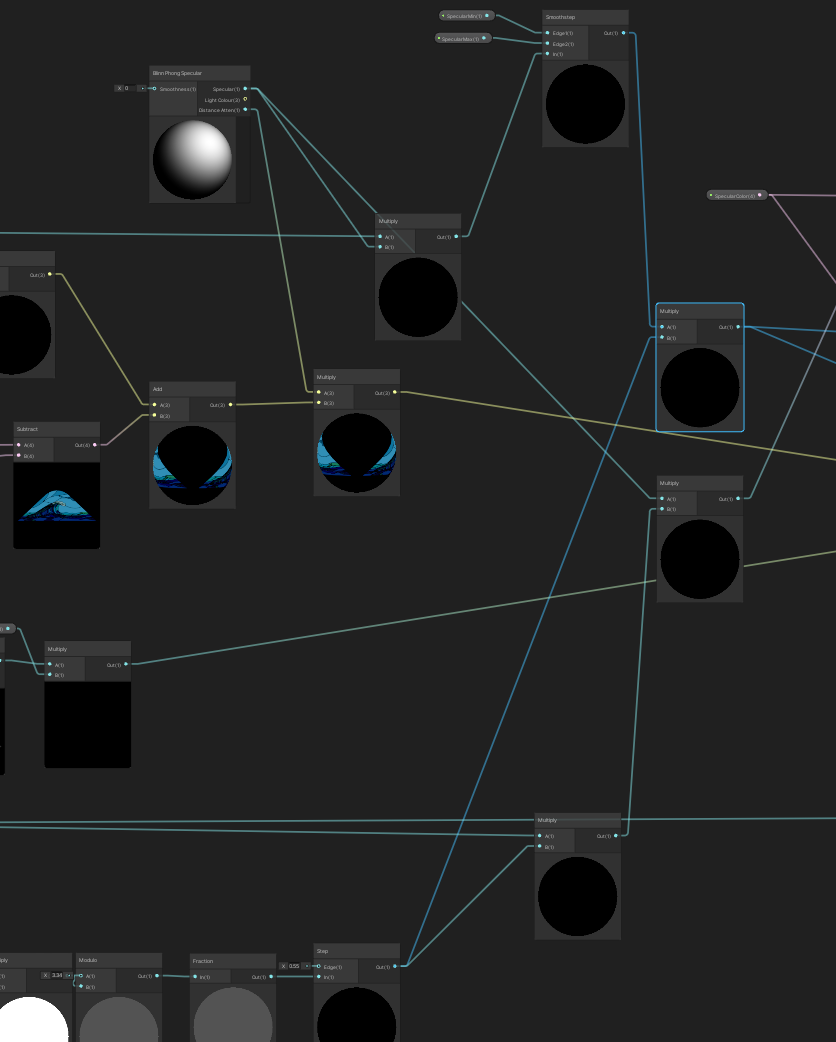
This probably doesn’t need to look this complicated but I have every preview open to clearly confuse me and the readers of this article. So the top left part of the graph is pretty much the same with reflection probes and index of refraction and here I’m not changing the noise per each glass mask part:
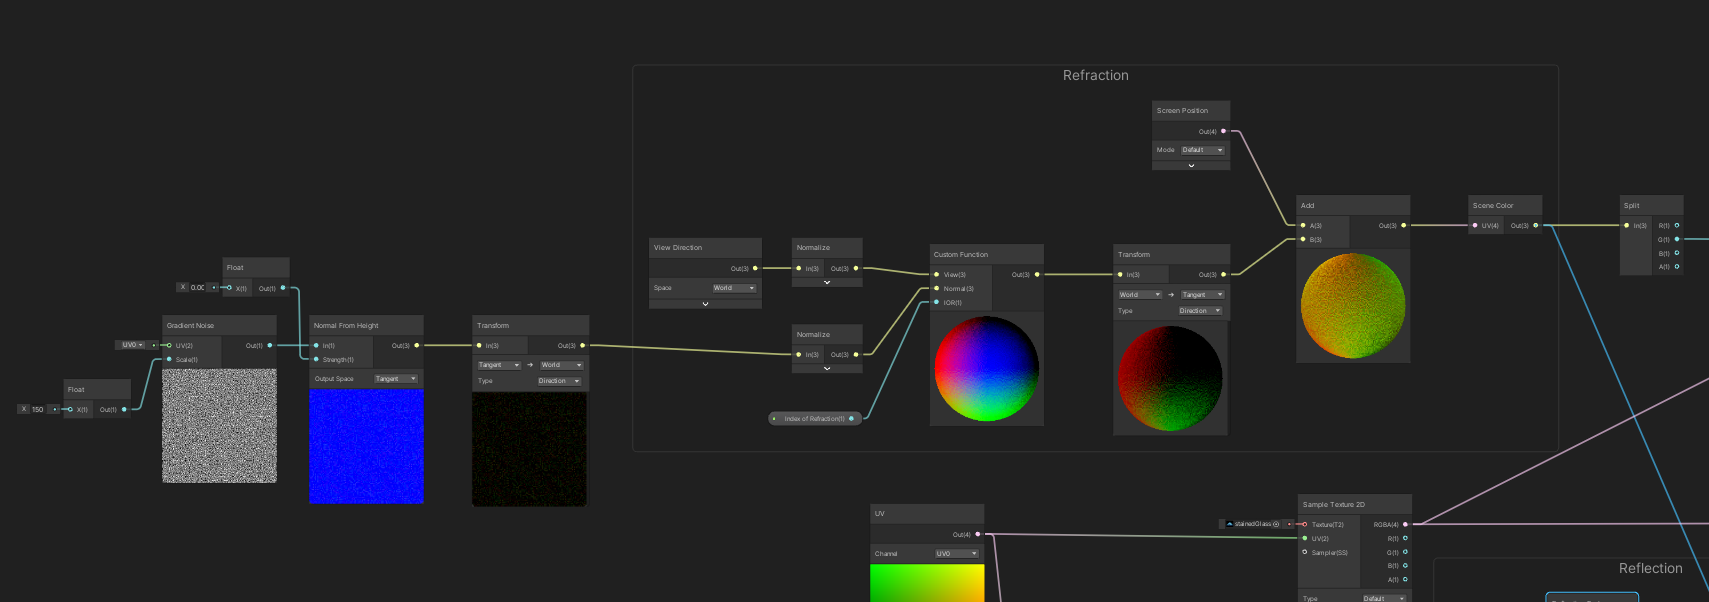
And I do the same thing as I did in the Lit shader with the multiply color texture to an intensity param do a little subtract to dim some intensity of the texture and then add them together with the reflection and refraction. That should get me the color of the glass with reflection and refraction of the scene behind and infront of the glass.
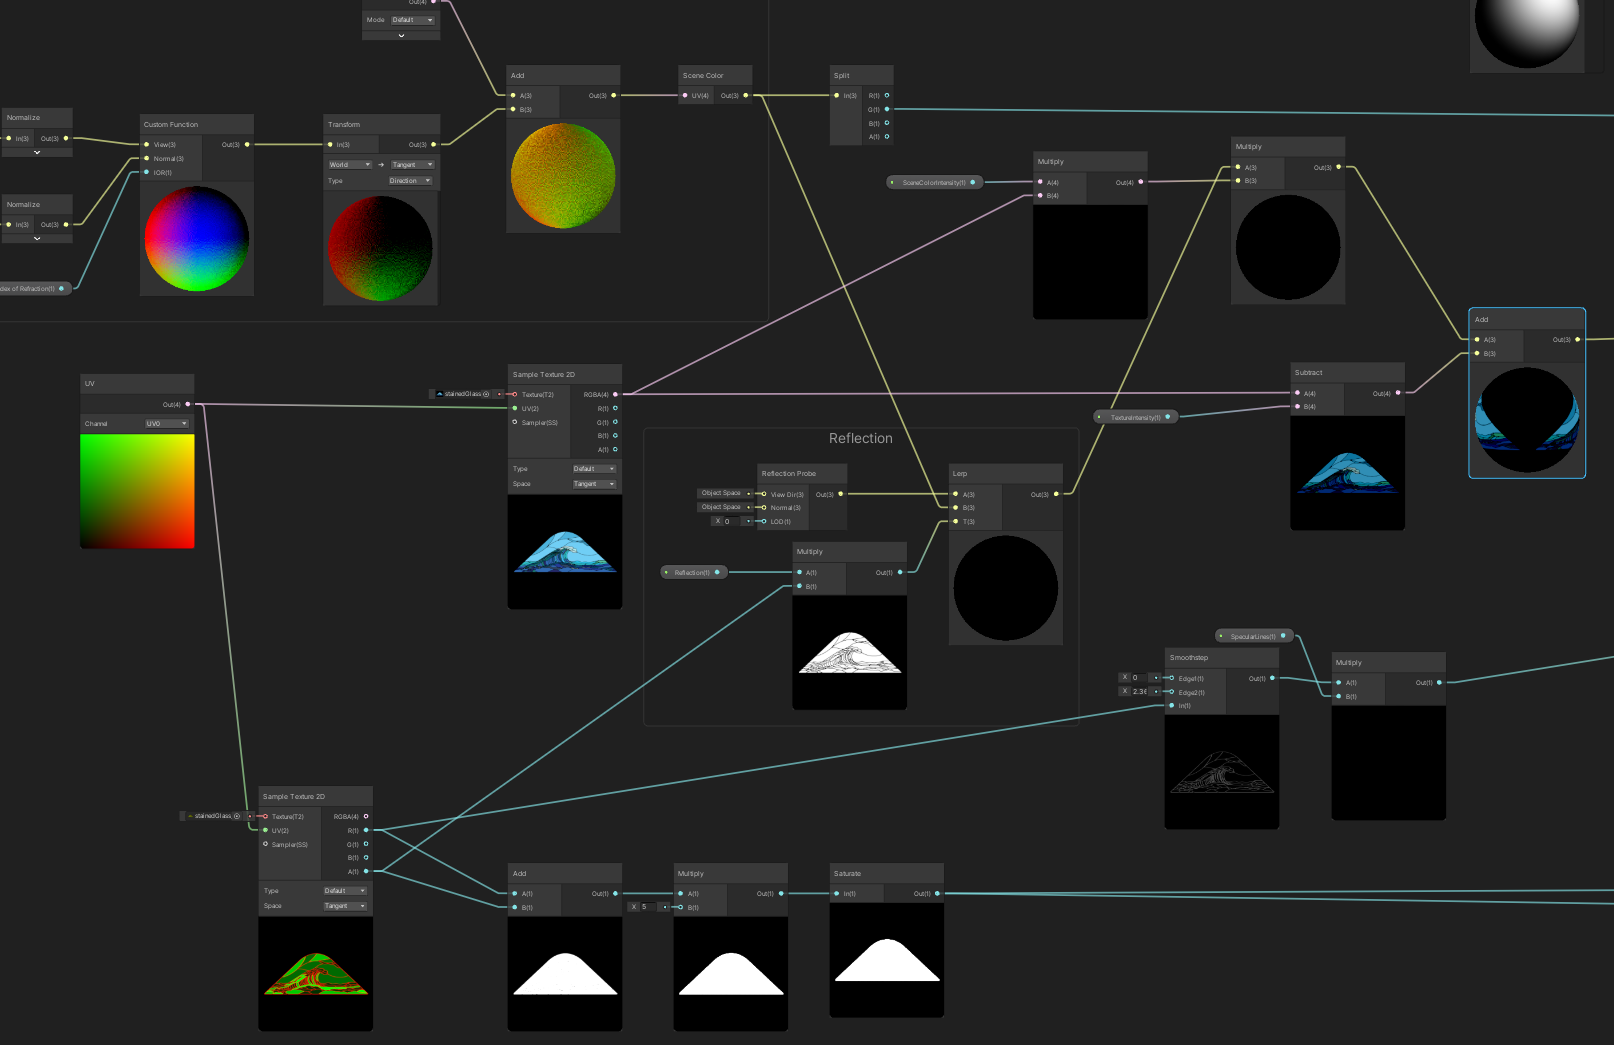
The only special thing with this graph is the specular and taking the specular and splitting it into these banded lines which Cyan again has a fantastic tutorial on toon glass lines I used as inspiration.
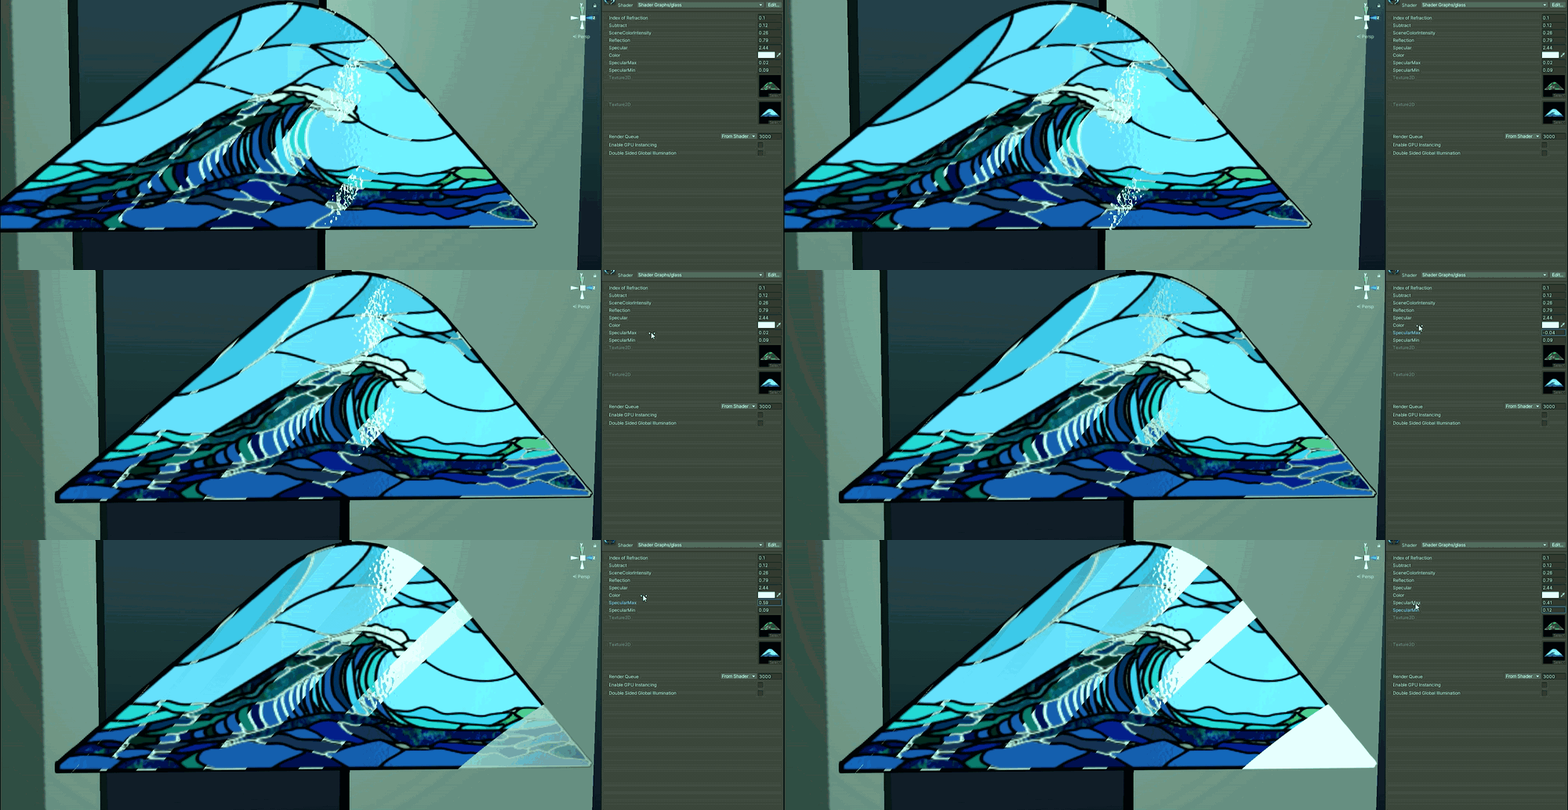
So this basically masks out my specular in the top-right part of my chaotic graph to these toon lines and then I do some other fancy stuff with it. But to show you what the specular mask is doing on its own it’s basically just masking the specular to some nice toon lines:
The graph gets a bit crazy but basically I take just one channel from the distortion we did with the scene texture and multiply it to our specular and then I ran that through the smooth step to determine how much/little I want and contrast.
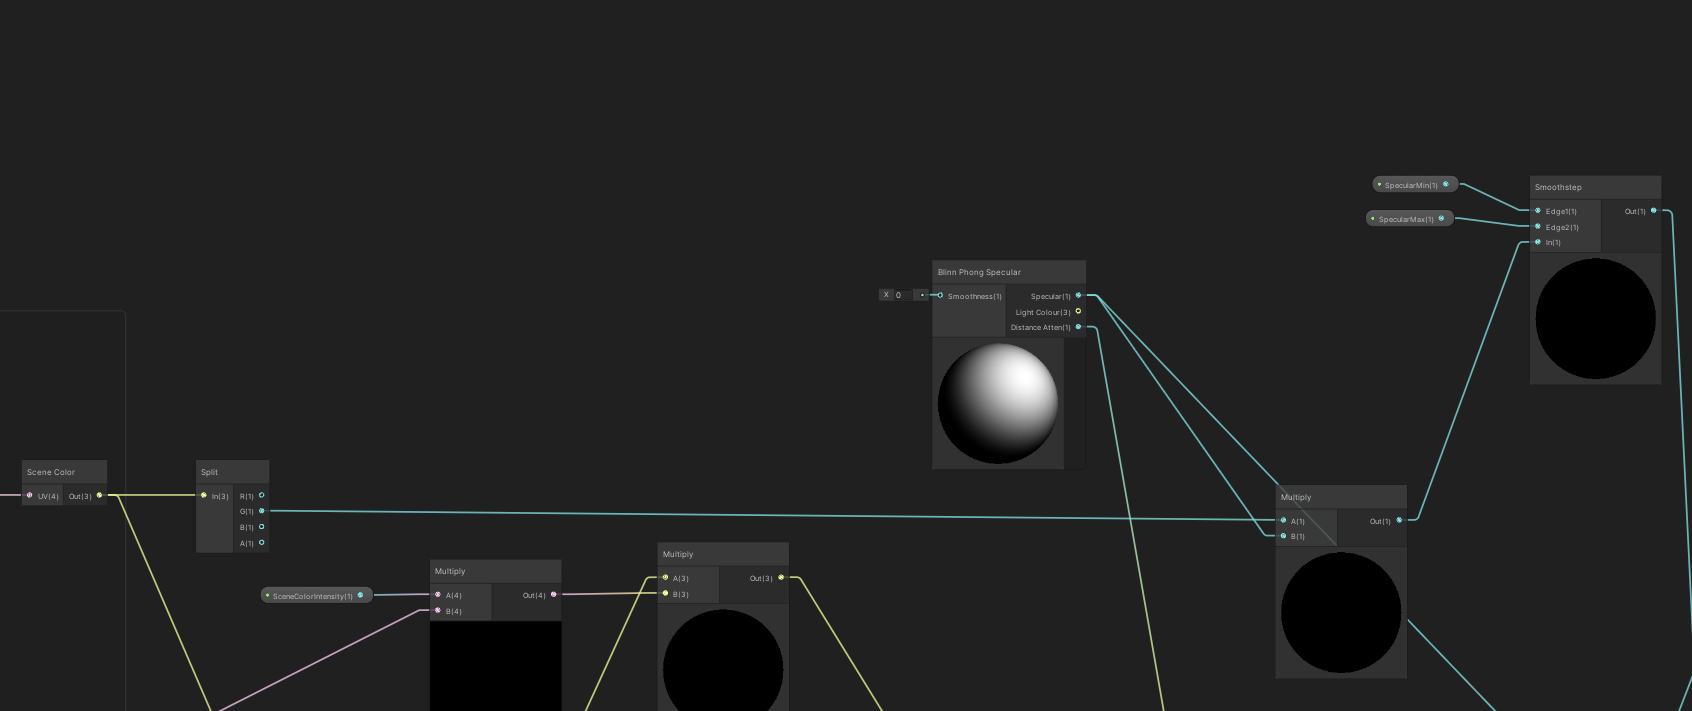
THEN to keep with within the mask of the toon shaded lines i need to multiply that smooth step to the mask I made:
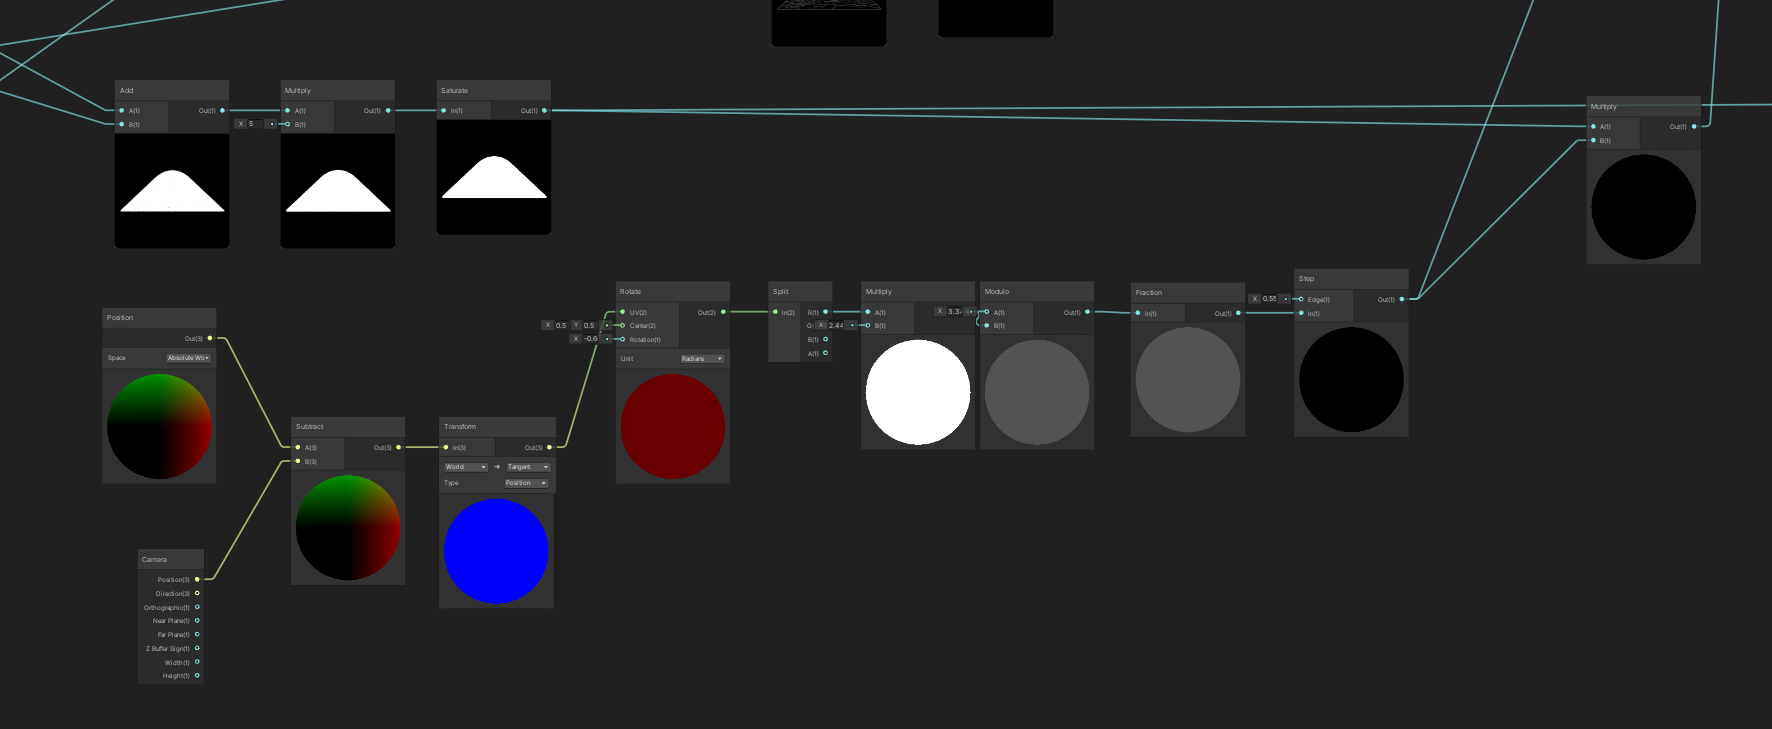
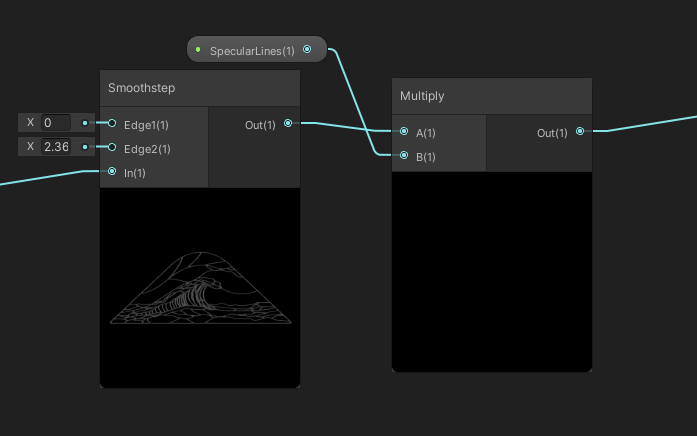
The rest gets a bit chaotic but I can control the lead lines how much specular they get with a simple multiply:
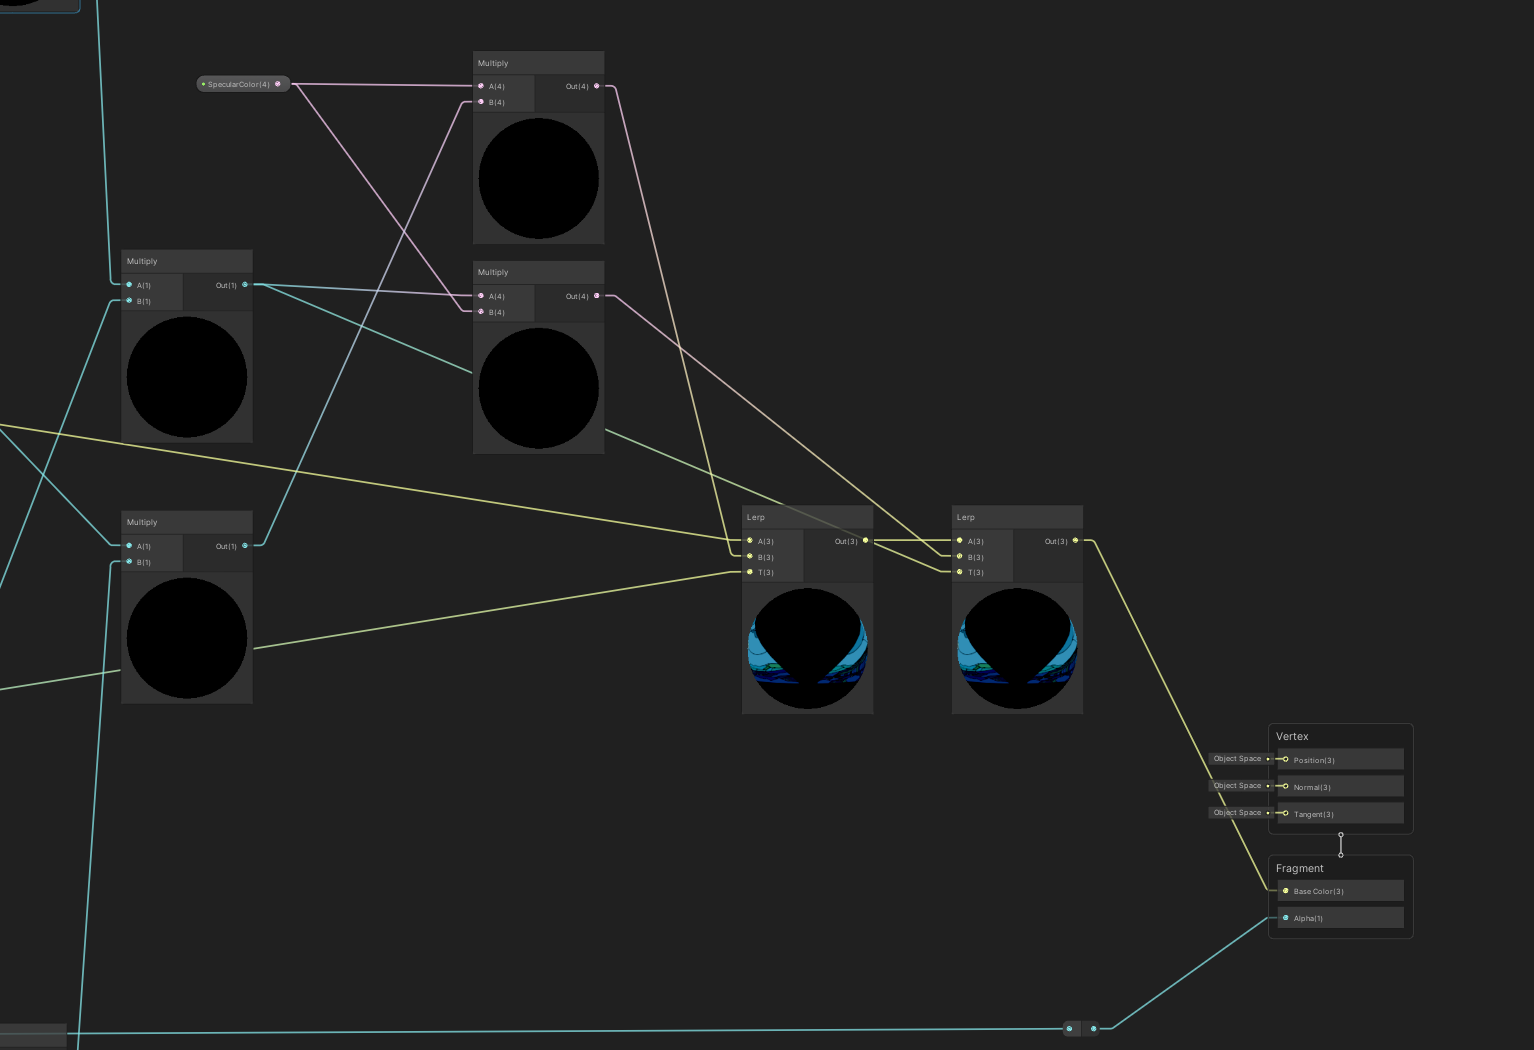
And I do lots of lerps and multiply by specular color in the end to get it all to blend ok. Which could probably be set up smarter but :D why not live a little?
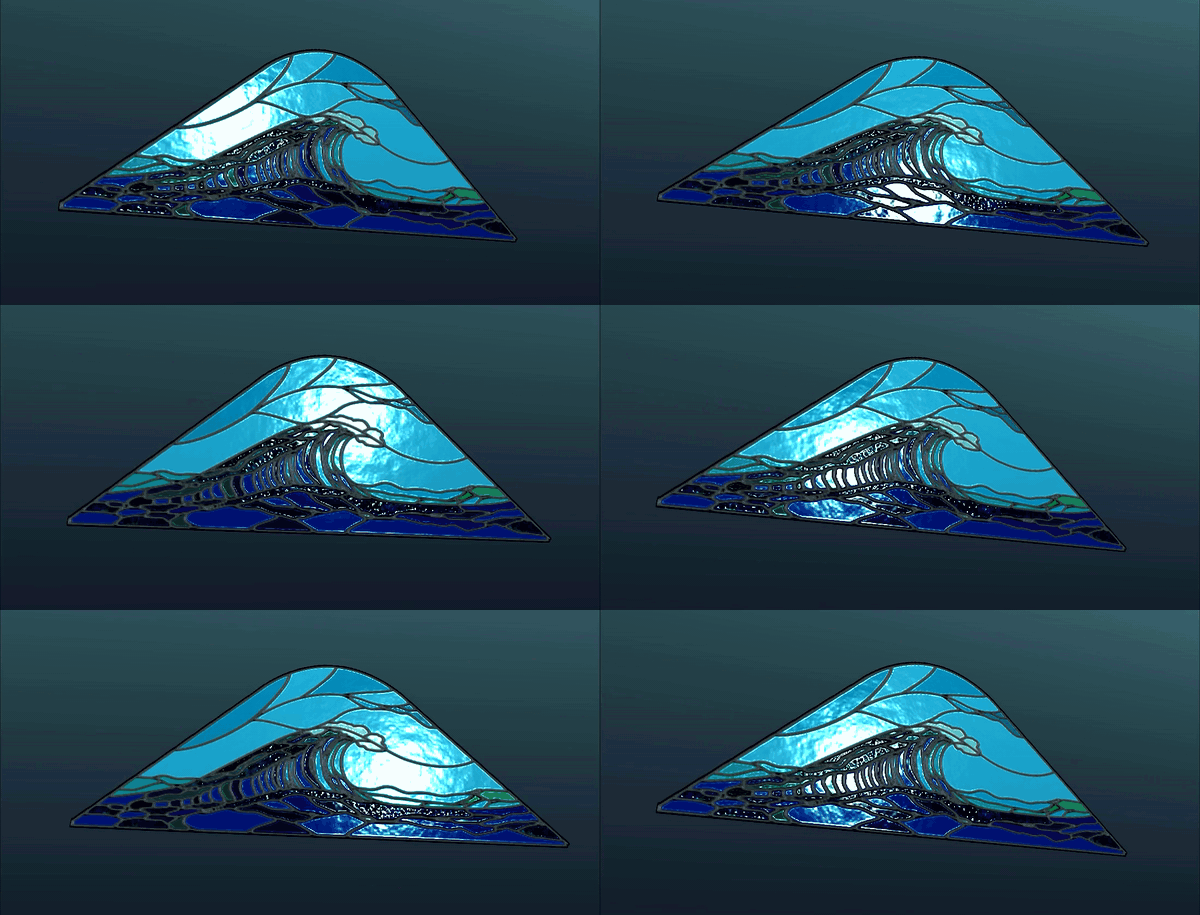
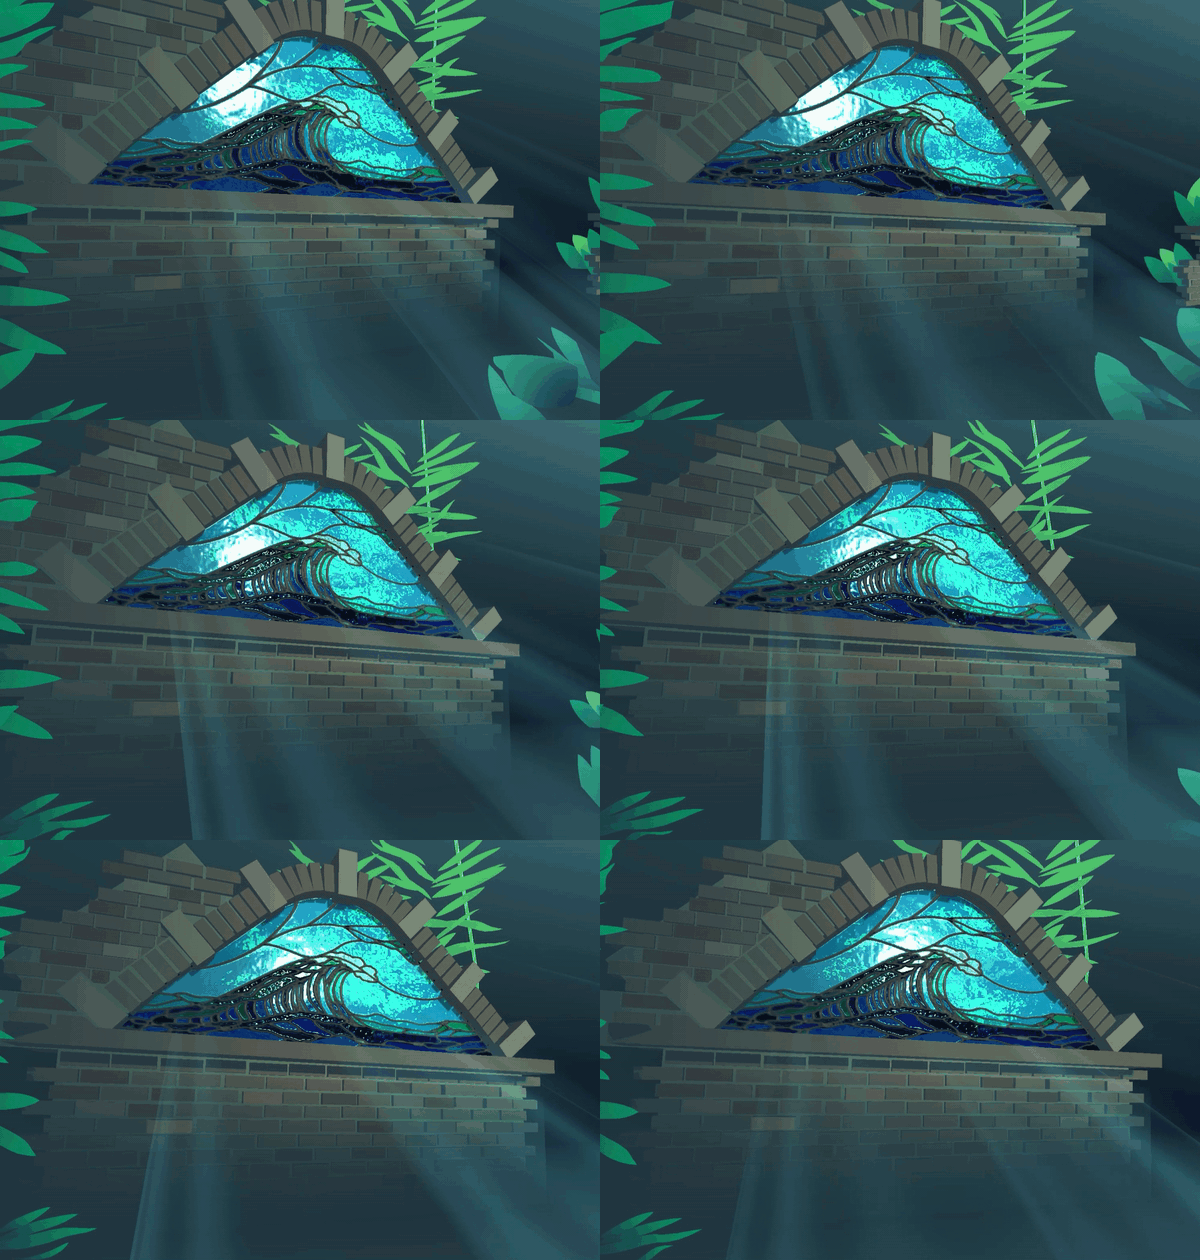
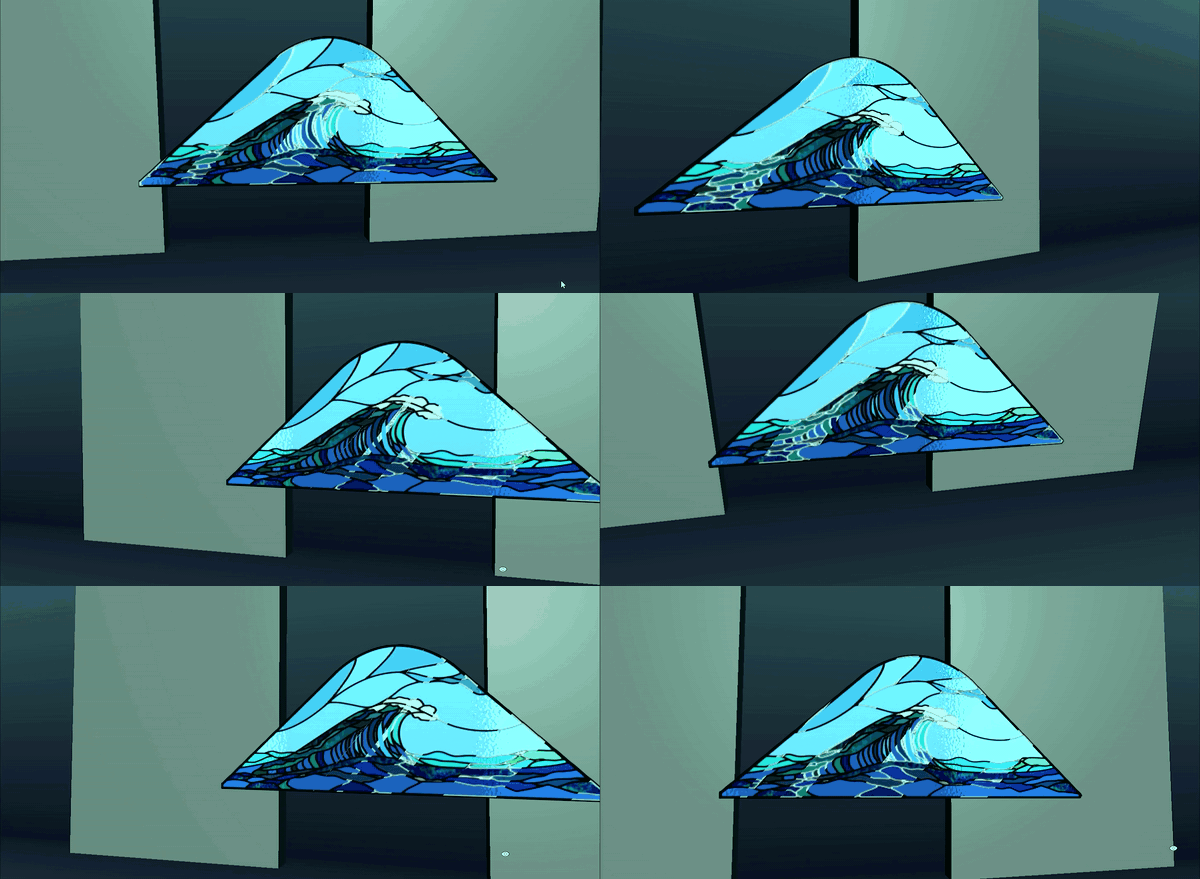
So yeah with some fiddling about it looks a little like this:
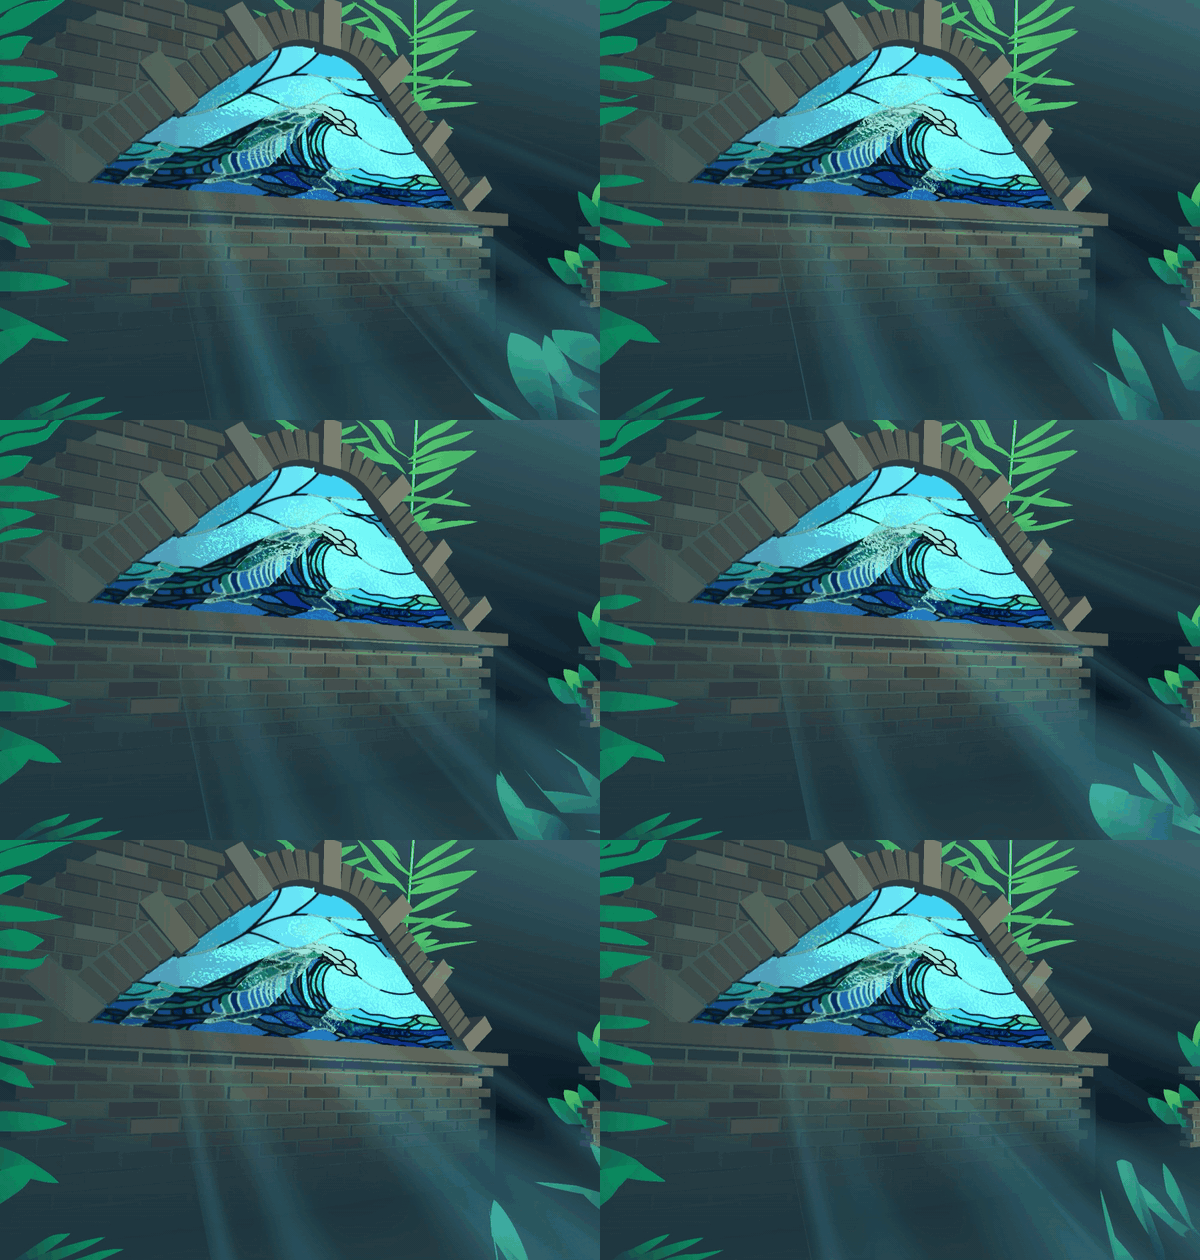
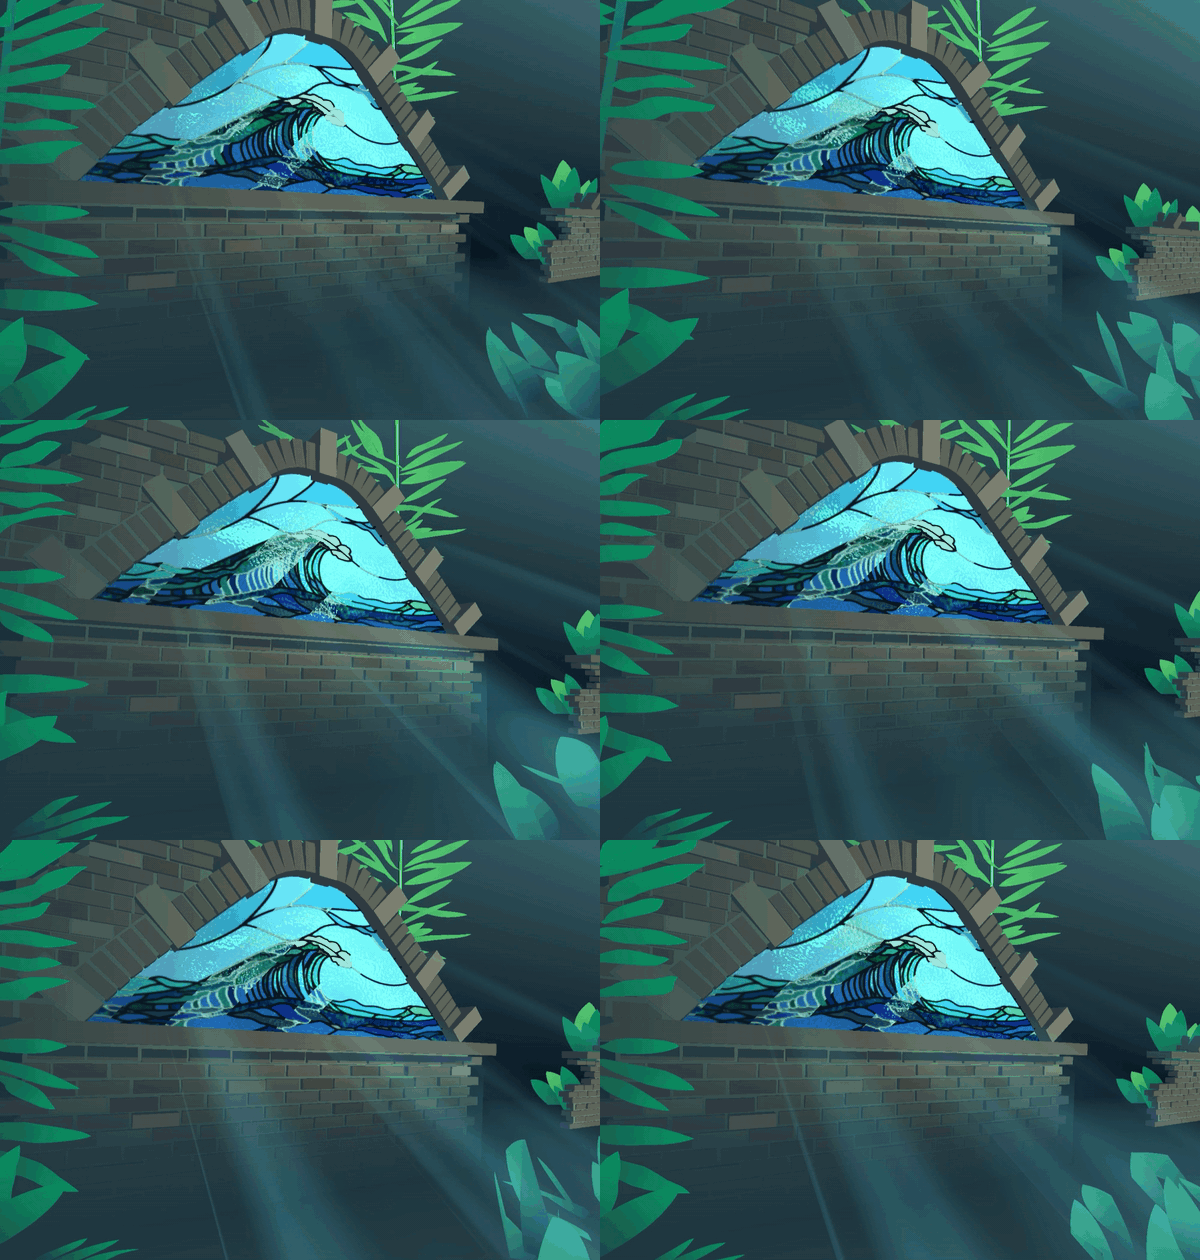
Hope this was enlightening to the chaotic process I go about when I make shaders :)
